Introduction
This post will provide a quick guidance on:
- how-to for installing the “Tailwind CSS” on to your custom drupal theme/sub-theme,
- how to create a reusable component styled based on “Tailwind UI” using paragraph module
Resources referenced in this post includes:
- Tailwind CSS - Official Installation Guide: https://tailwindcss.com/docs/installation
- Tailwind UI - Official Installation Guide: https://tailwindui.com/documentation
- Theme Drupal - Adding assets: https://www.drupal.org/…/asset
- Web Developer Jones - Install Tailwind CSS in Drupal 10: https://www.youtube.com/watch?v=kzmjUmTBVnI
Step-1: Initialization of Sub-Theme
To begin with, you can refer to this post on how to create a sub-theme based on any contributed theme, for my instance I am creating my sub-theme of machine name tailwind-civic based on the CivicTheme, which has its special provided script to generate sub-theme (see screenshot):
| |
At the end you will have a sub-theme under your theme/custom folder with a hierachy alike the following:
| |
Then simply enable your sub-theme (as well as the base theme if you haven’t done so) in the drupal backend, or via the drush command :
| |
Once properly installed you should see your theme’s style taking effect. (I would recommend you double-check by adding some debug css in the style.css file, for instance *{border: 5px dotted #F9B455 !important;} refresh the page and see if they take effect)
Step-2: Installation of Tailwind CSS
Tailwind CSS along with its dependencies are managed by node package manager, we can install it following the guide provide on the official website:
2A. Install Tailwind CSS
Install tailwindcss via npm, and create your tailwind.config.js file.
| |
You should be getting a tailwind.config.js file like the following to begin with:
| |
2B. Configure your template paths
The template paths in content attribute tell Tailwind which files to scan for class names. This is essential because Tailwind uses a process called “purging” to remove unused styles from the final CSS output, which helps keep the file size small (in another word, if you don’t configure your template path correctly, the after the npx build process, all but the default the styling will be removed). For our later usage, we will be using the Tailwind UI component via paragraph’s twig template, hence let’s change the content to include the .twig files living in \template folder.
Moreover, we will be using the tailwind colors, sans font family, and plugins: @tailwindcss/forms, @tailwindcss/aspect-ratio, add them in the configuration file. At the end you’ll get something like
| |
2C. Add the Tailwind directives to your CSS
Use @tailwind to include different layers of Tailwind’s pre-designed styles into your CSS
| |
You can either :
- add the above to your main
style.cssfile for the sub-theme, and change your sub-theme to use the css file after built - (OR) create a new css file
tailwind/input.css, and after using thenpx tailwindcommand to build the css file intotailwind/output.css, import it to your mainstyle.cssfile via@import url(../tailwind/output.css).
We will take the second approach.
2D. Start the Tailwind CLI build process
Run the CLI tool to scan your template files for classes and build your CSS and clear drupal cache
| |
For the convinience, you can add the following to your package.json file:
| |
Then you can build your tailwind css via simply running: npm run build-tailwind
2E. Add Build Tailwind CSS File to Sub-theme
Now let’s add the tailwind/output.css to the sub-theme’s library via tailwind_civic.libraries.yml
| |
2F. Dry-run Your Tailwind CSS
Lately let’s try superpower of tailwind css, by adding some extra style via class to the base template html.html.twig:
| |
Remeber to recompile the tailwind css file and clear the cache:
| |
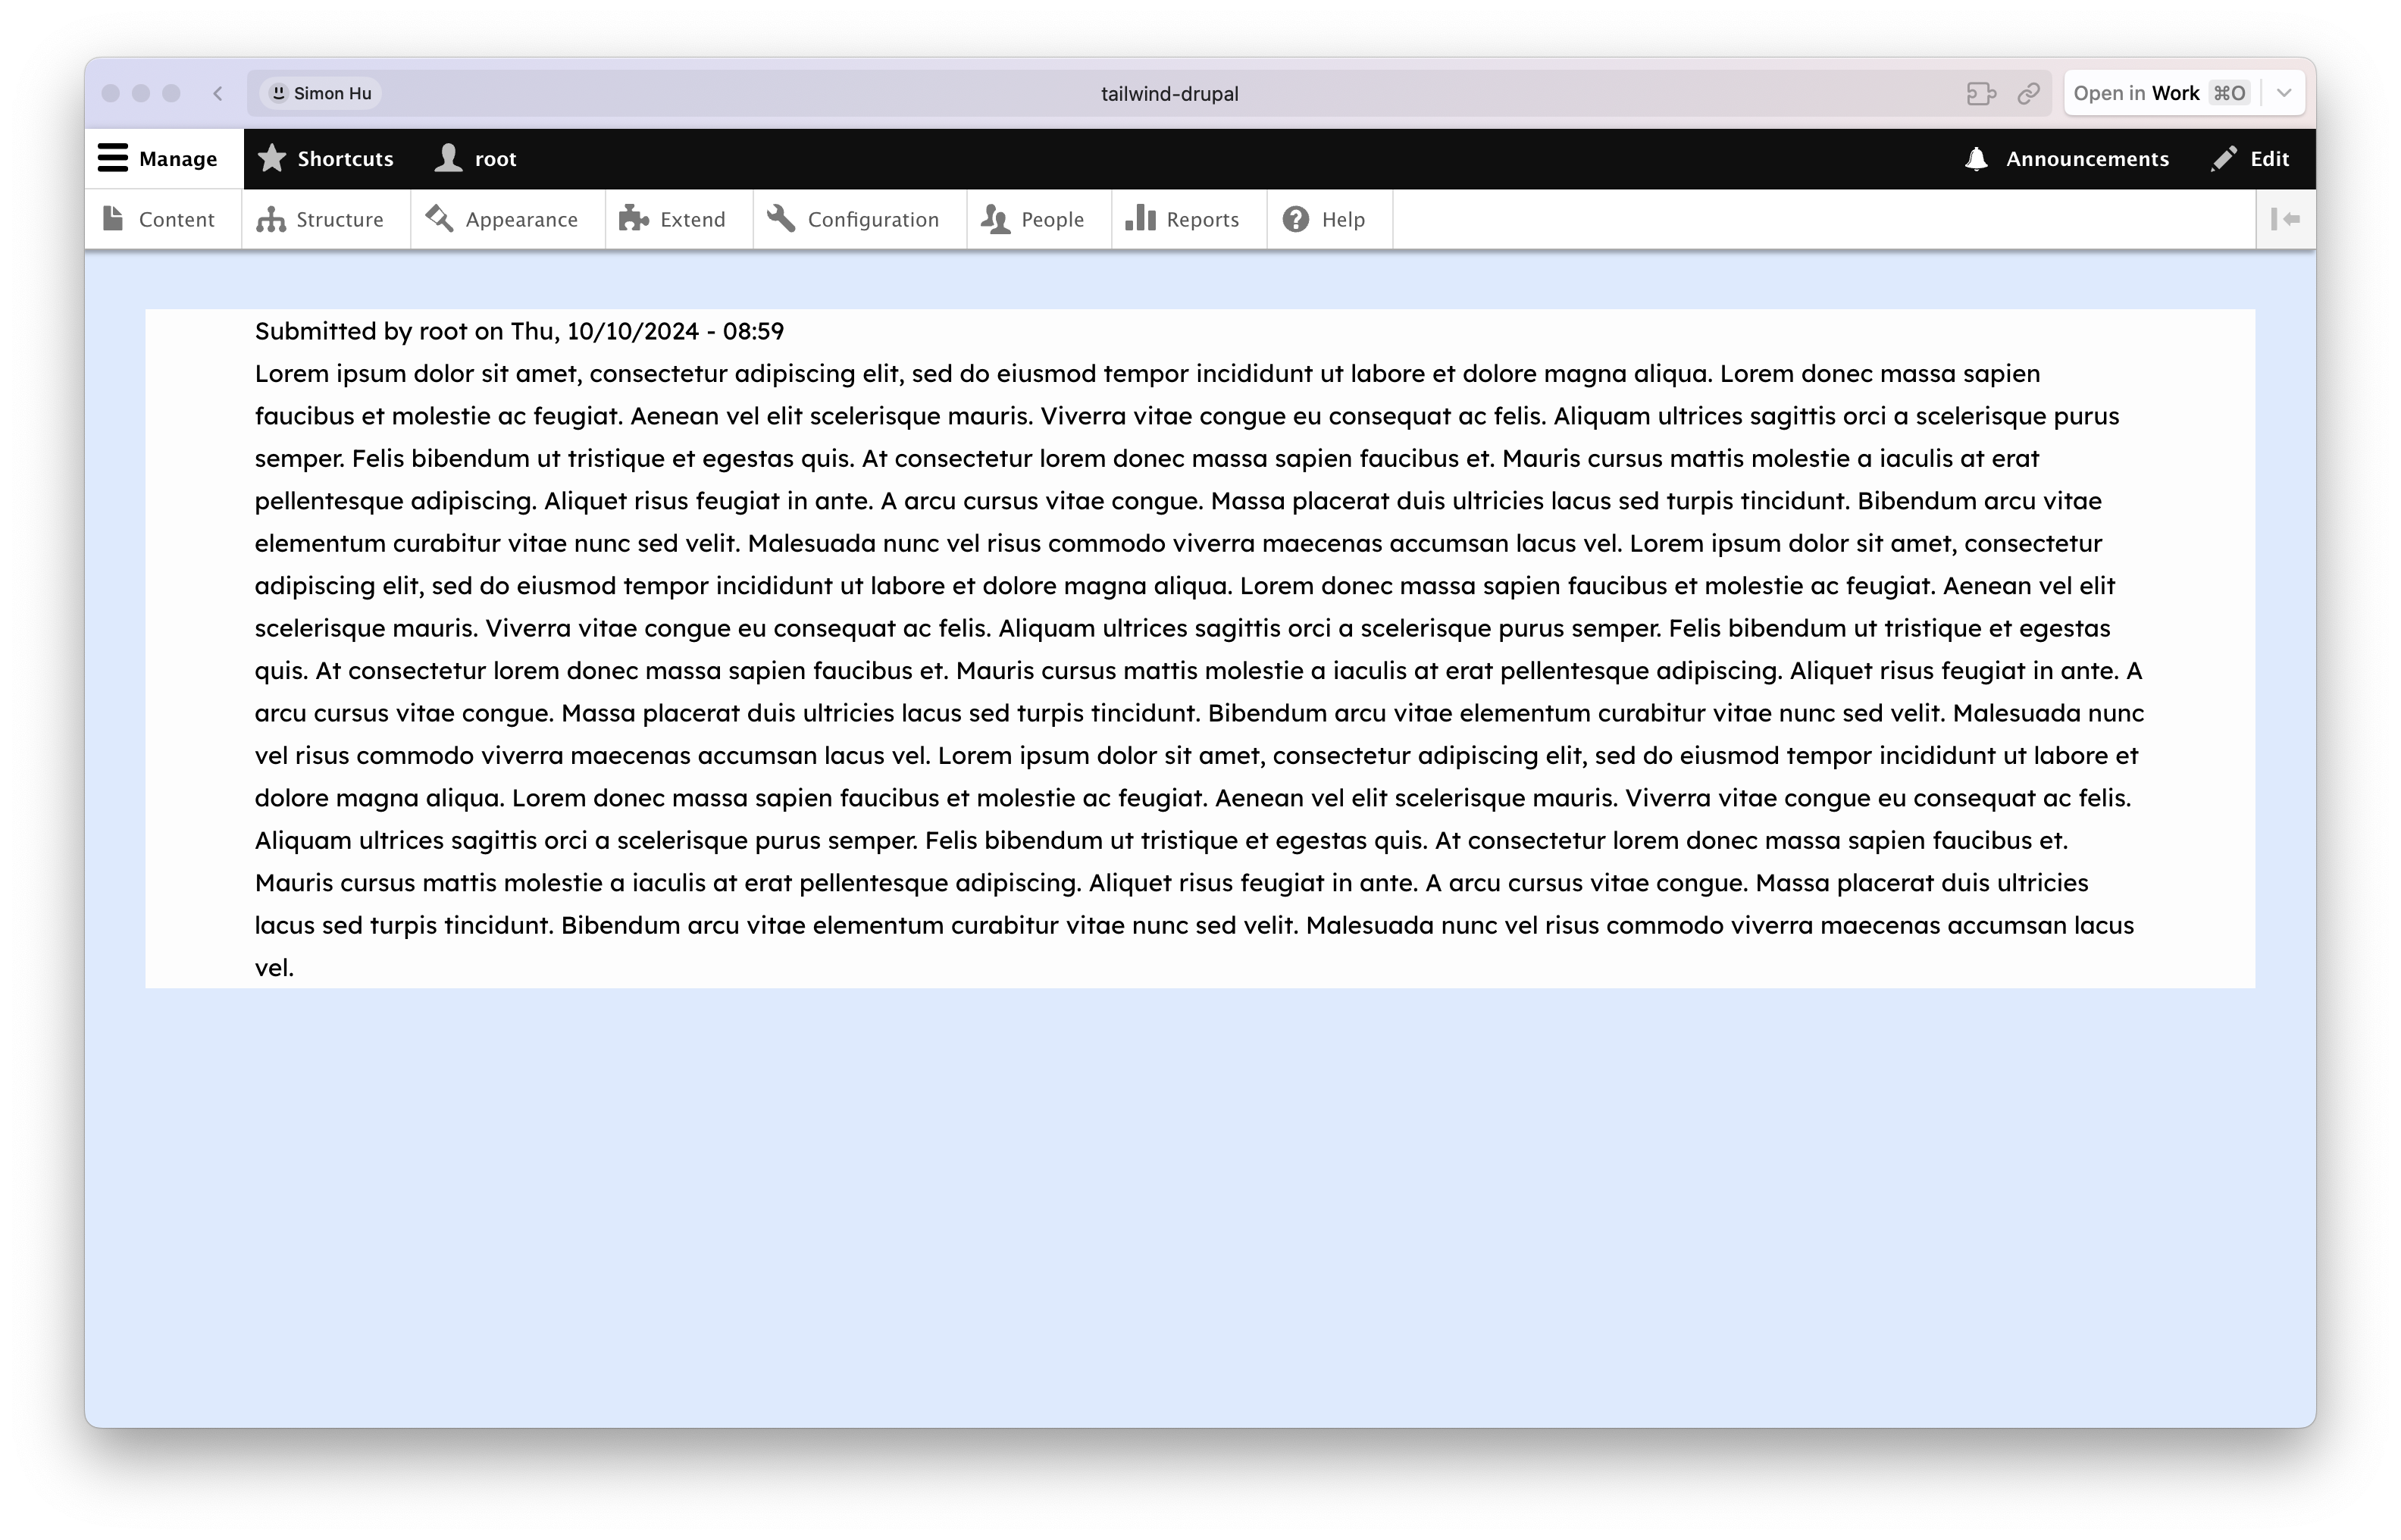
At the end you will get something like the following:
Step-3: Building Re-usable Component (with Tailwind UI + Paragraph Module)
Let’s demostrate by creating the “bento grid” component (free Tailwind UI component), and make the title a field in paragraph type (for quick demostration purpose):

3A. Create Pragraph Type
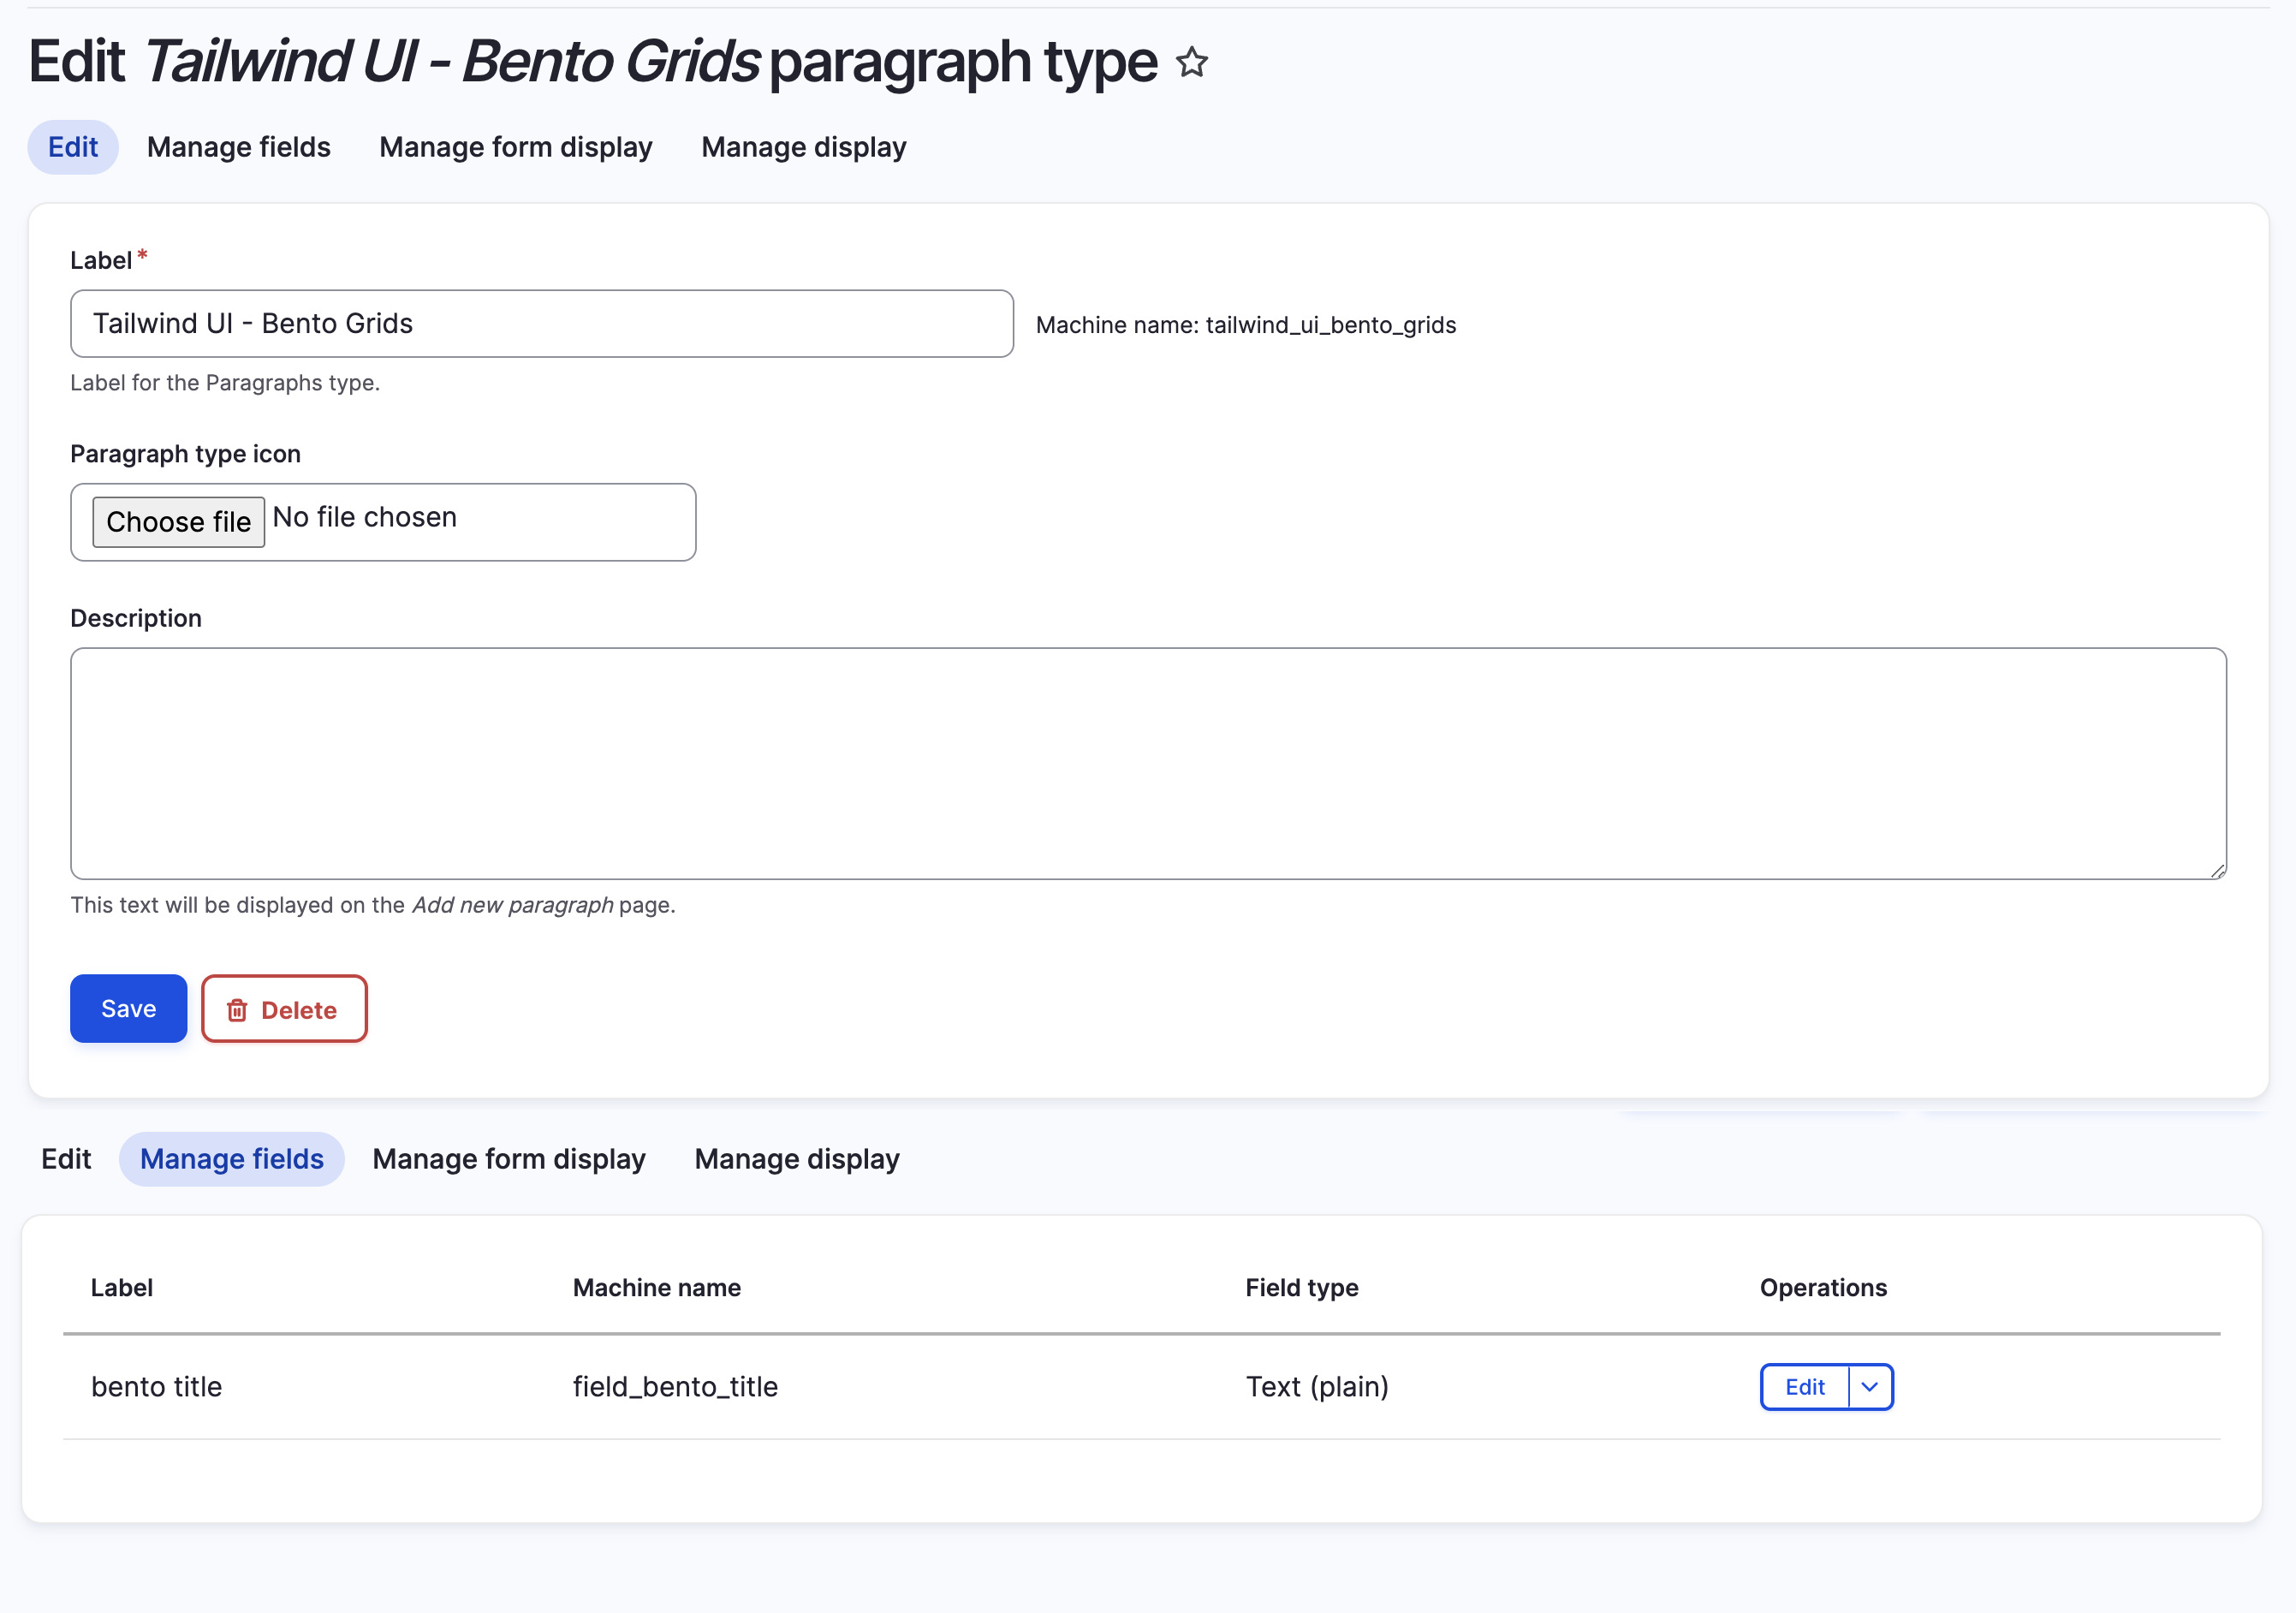
I won’t go into the details of this step, create the paragraph type, configure its fields and make it available on the content type:
3B. Generate Dummy Content
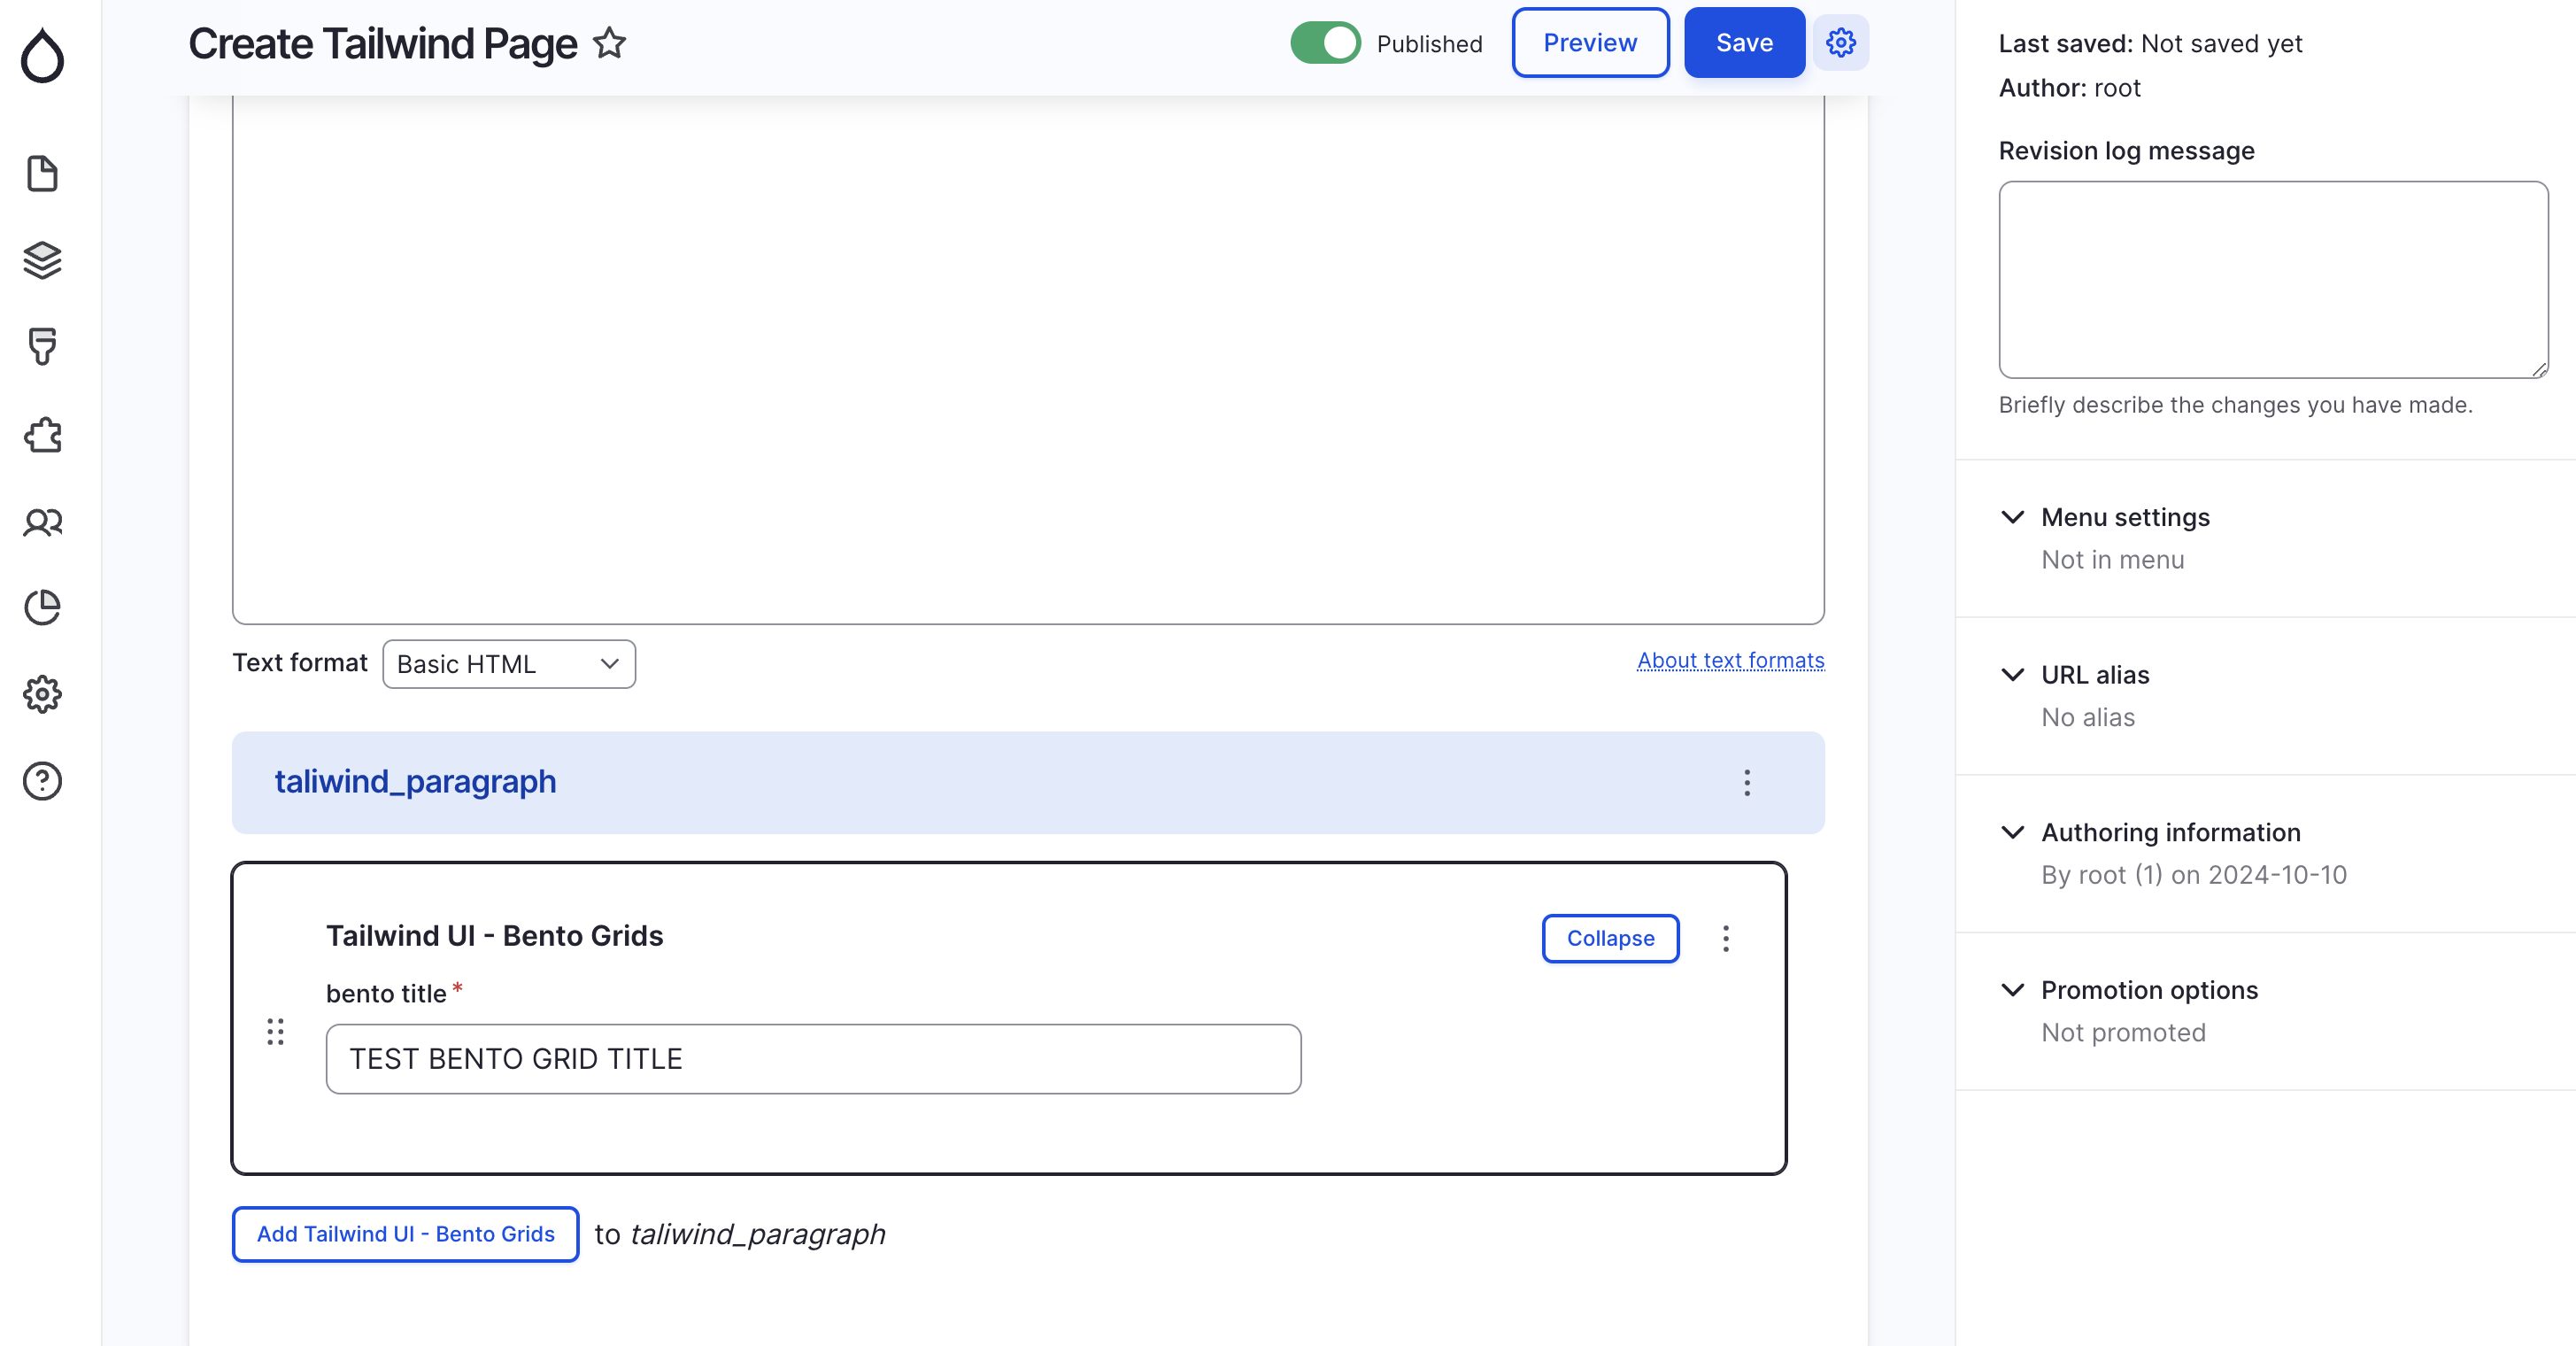
Make the paragraph type available in one of your content, and create one of those contetn with this (paragraph) component
3C. Create Twig Template
First goto the Tailwind UI offcial page and find the HTML snippets there: https://tailwindui.com/components/marketing/sections/bento-grids
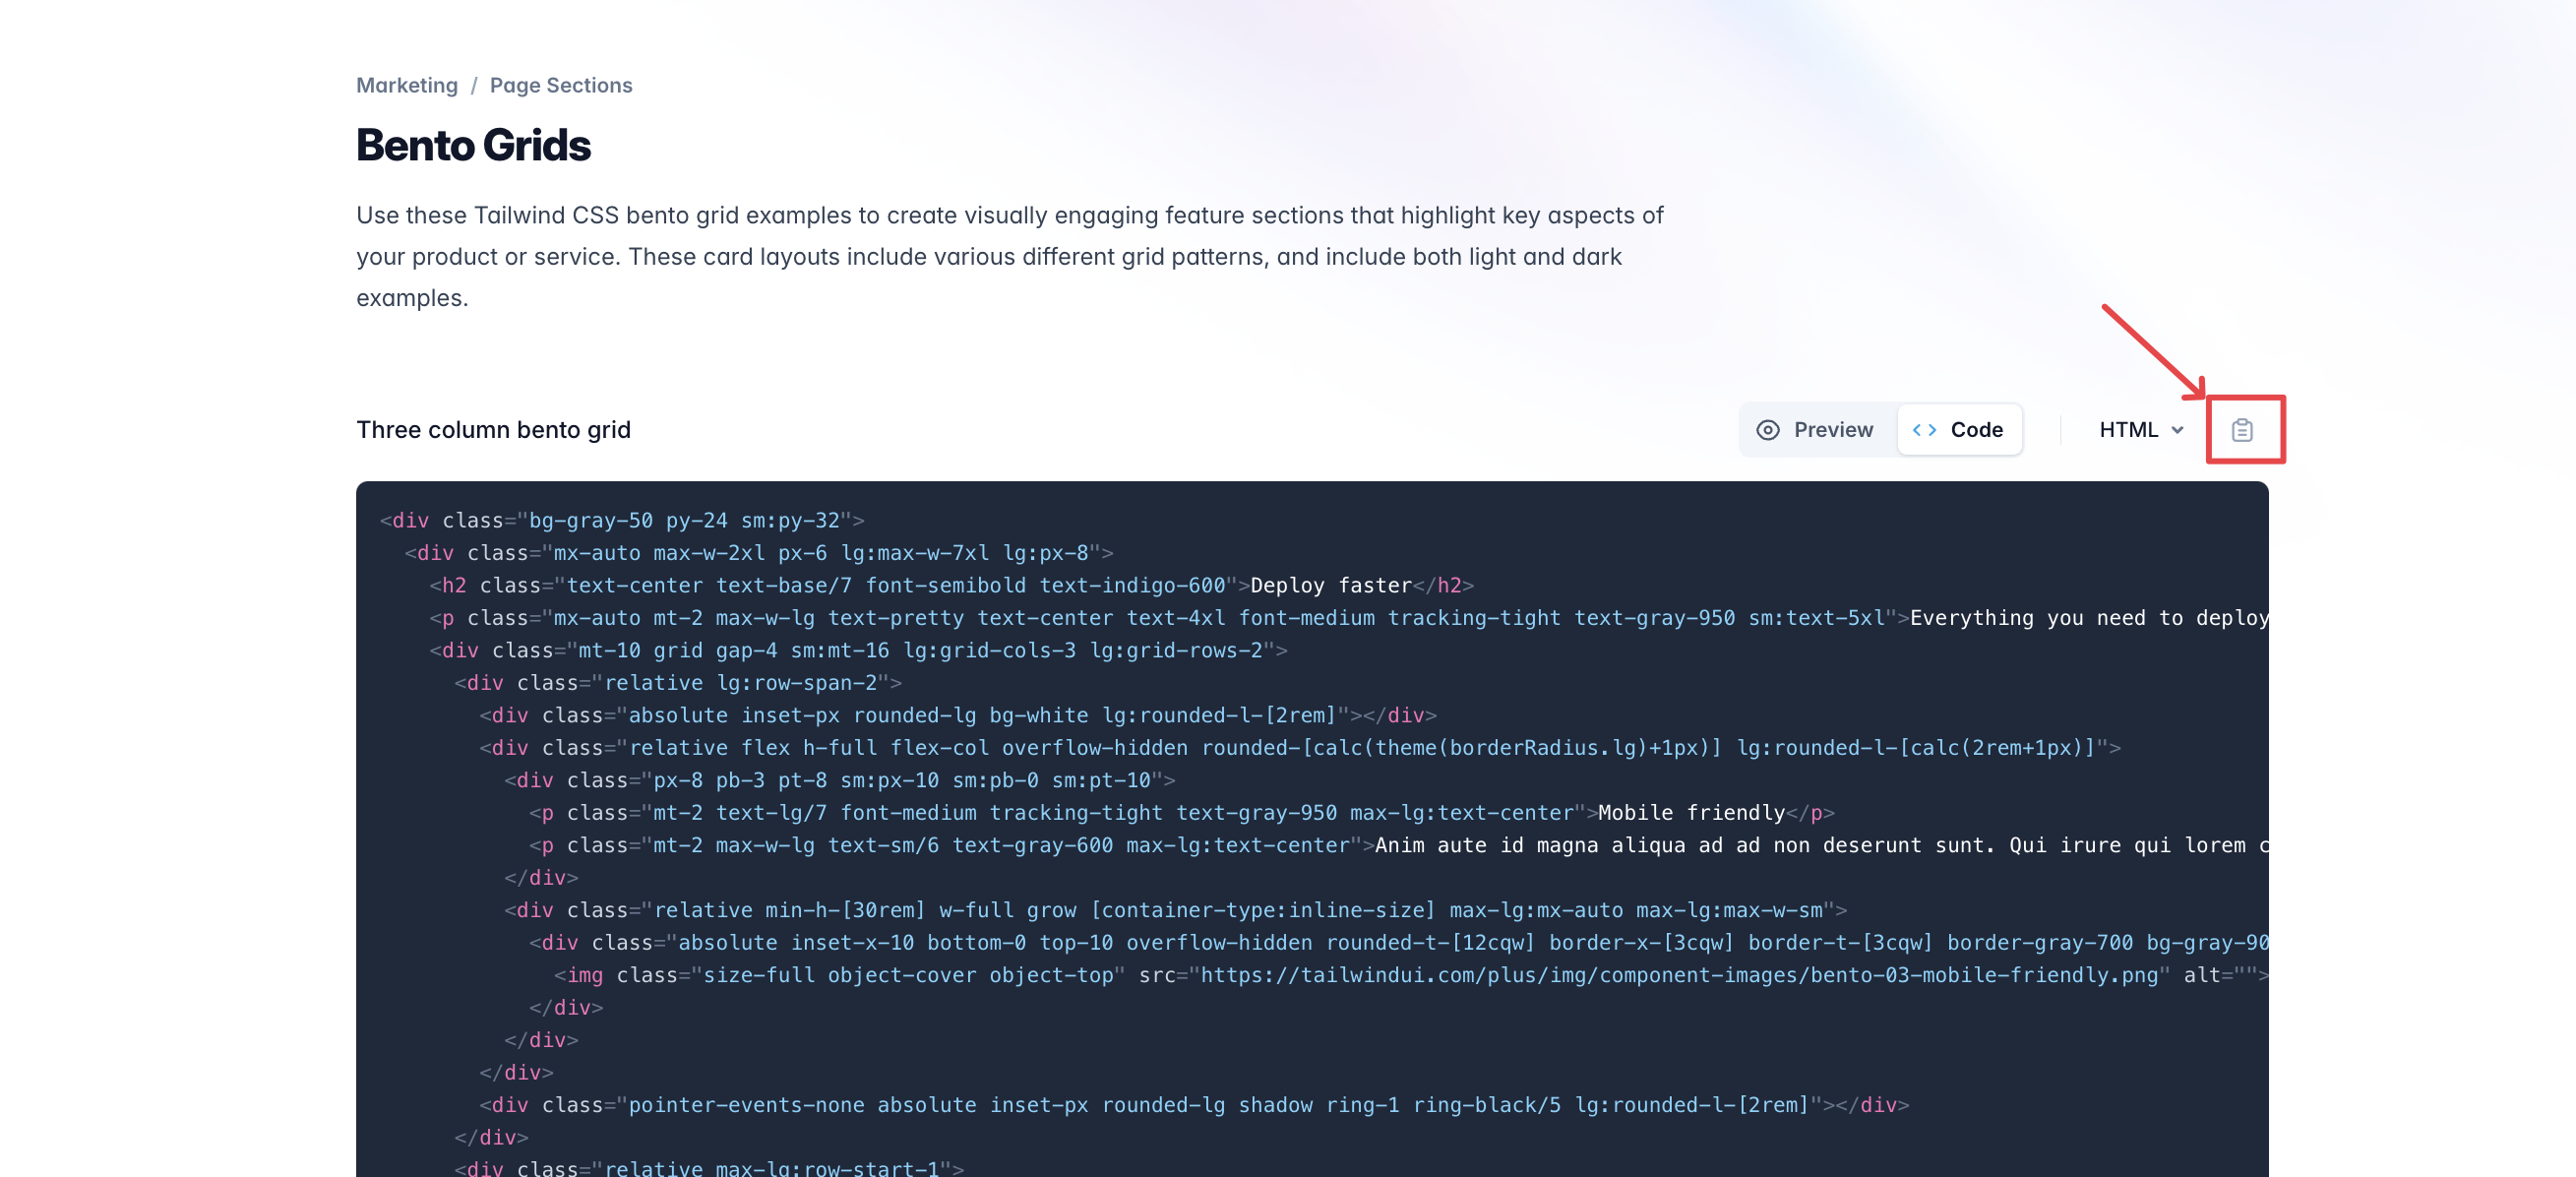
Then create the twig template corresponding to the paragraph type that was created (template/paragraph--tailwind-ui-bento-grids.html.twig in our case)

And use the html we just copied to create fill in the template:
| |
3D. See The Changes Live !
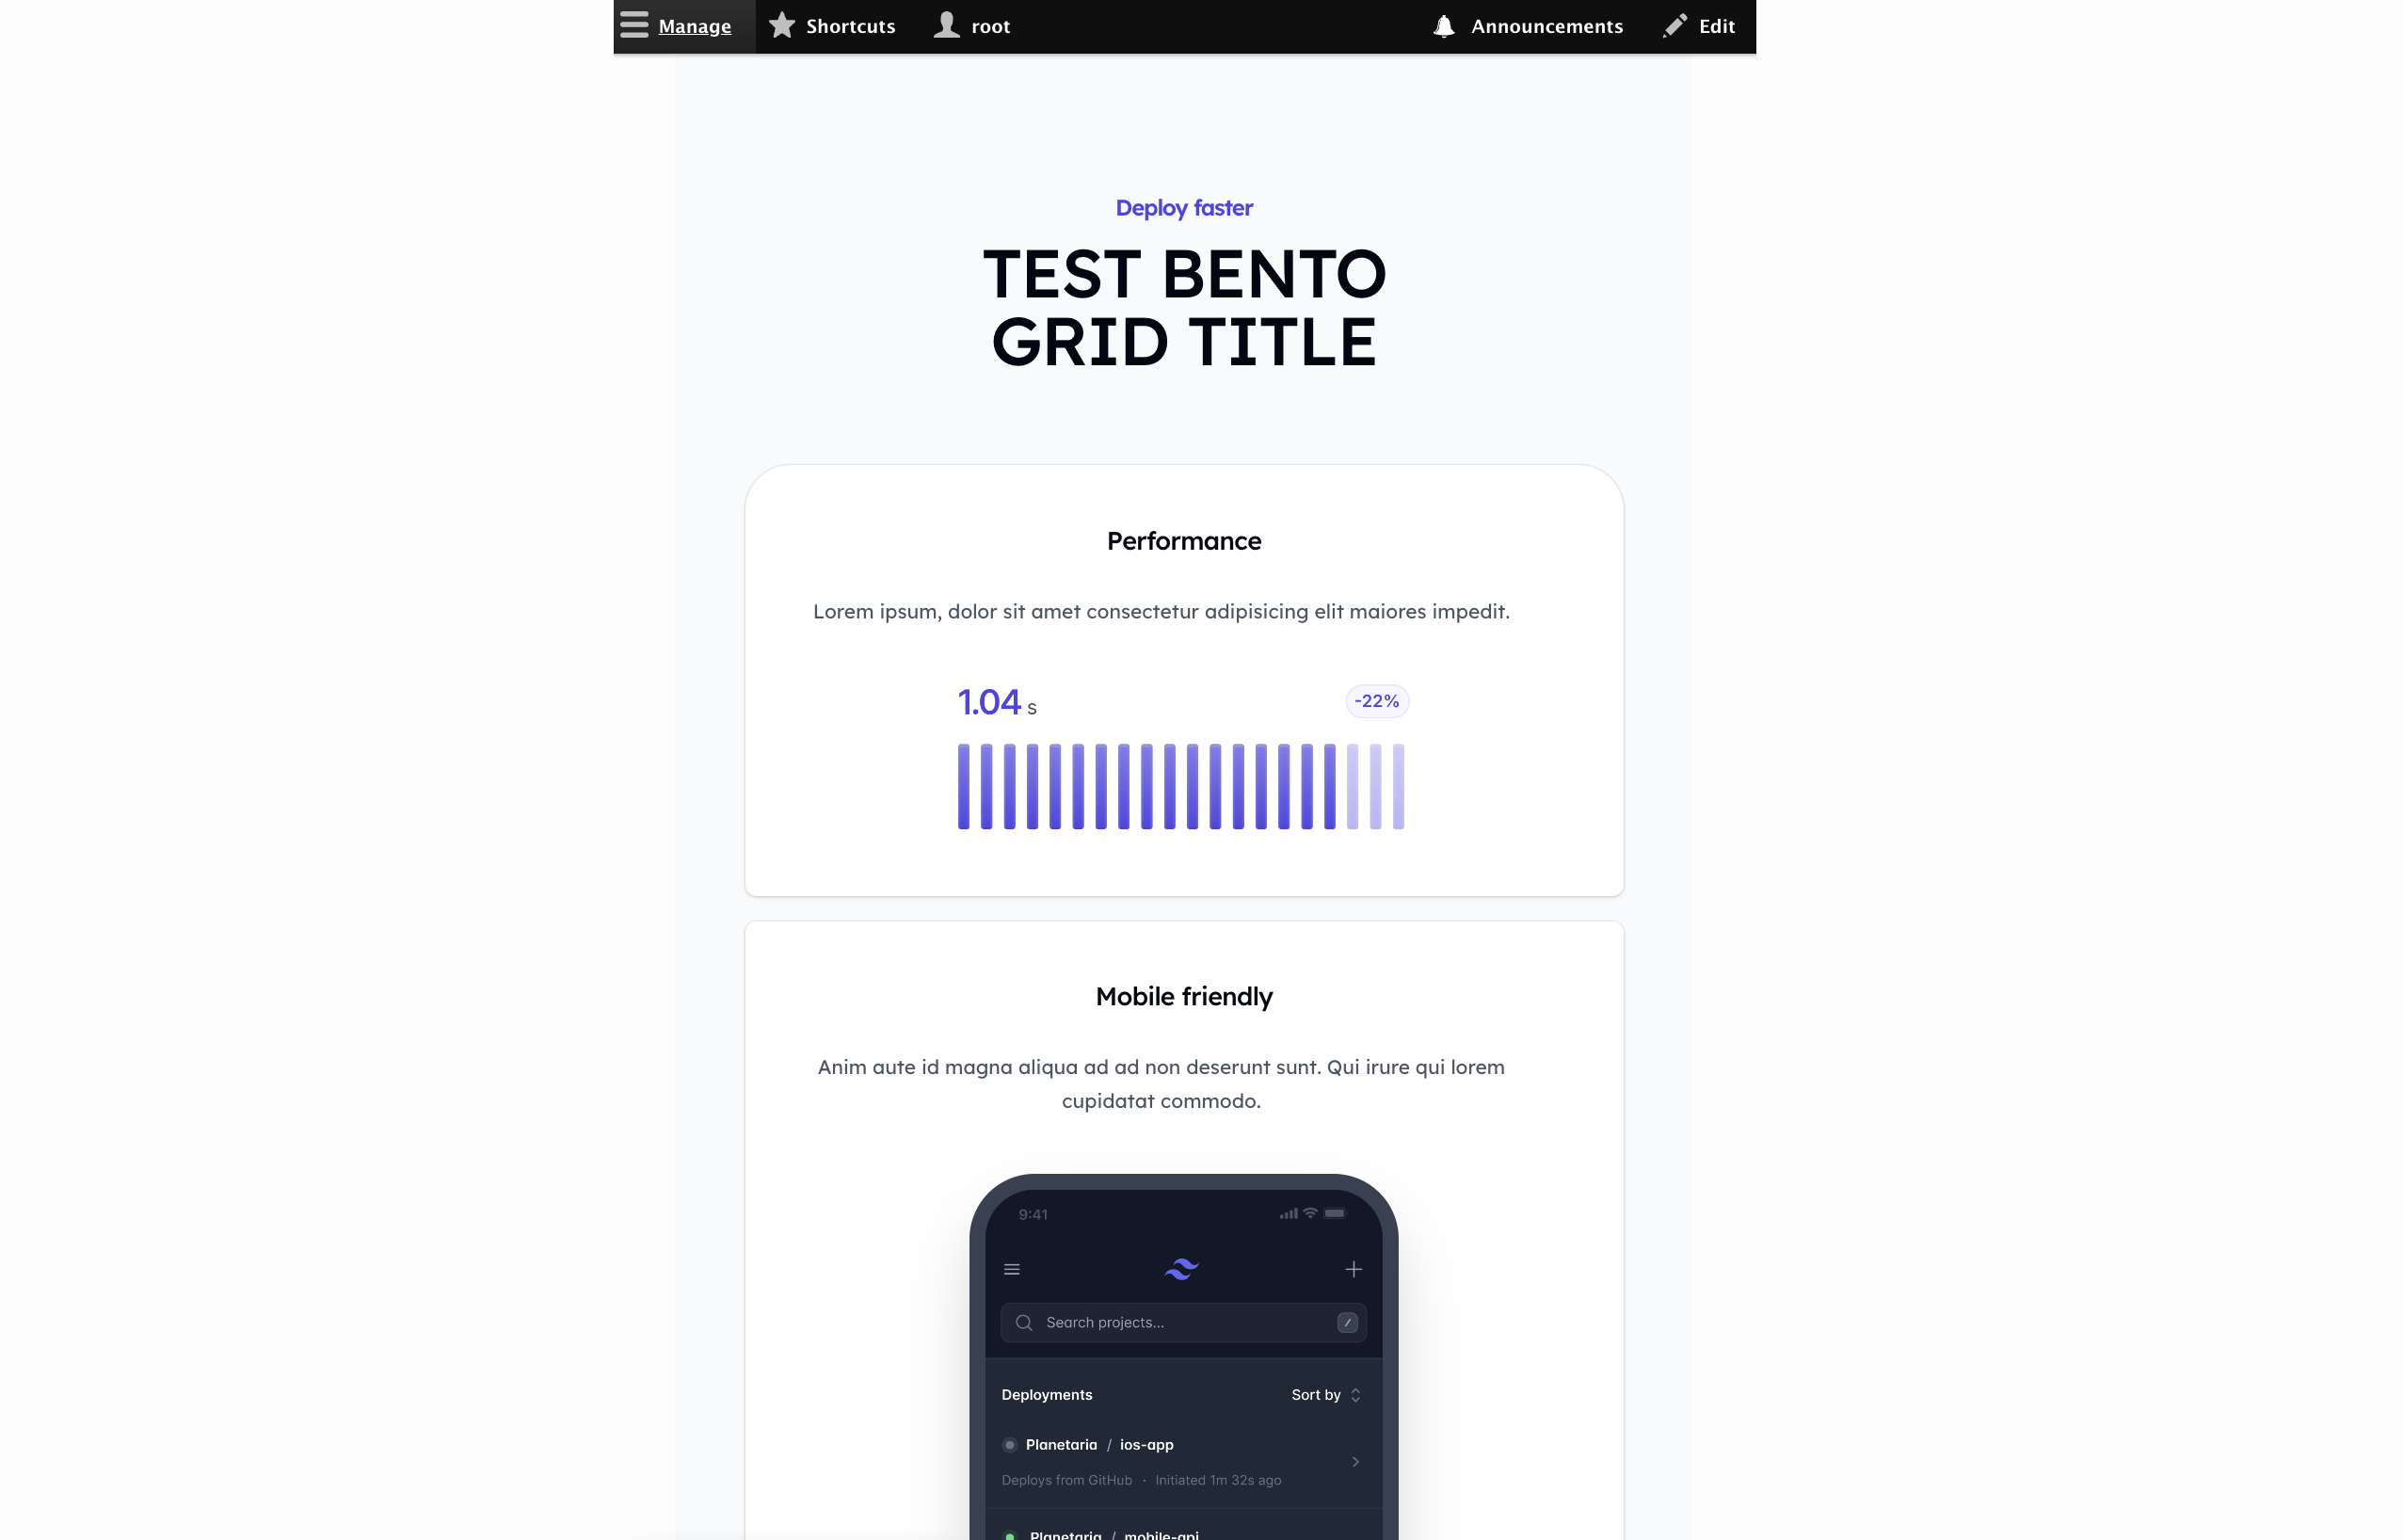
Perform tailwind css build and drush cr , and voilà, you get the Bento Grid component with the title from the paragraph, and by copying it from the Tailwind UI store, we almost spend no effort creating this stunning component.
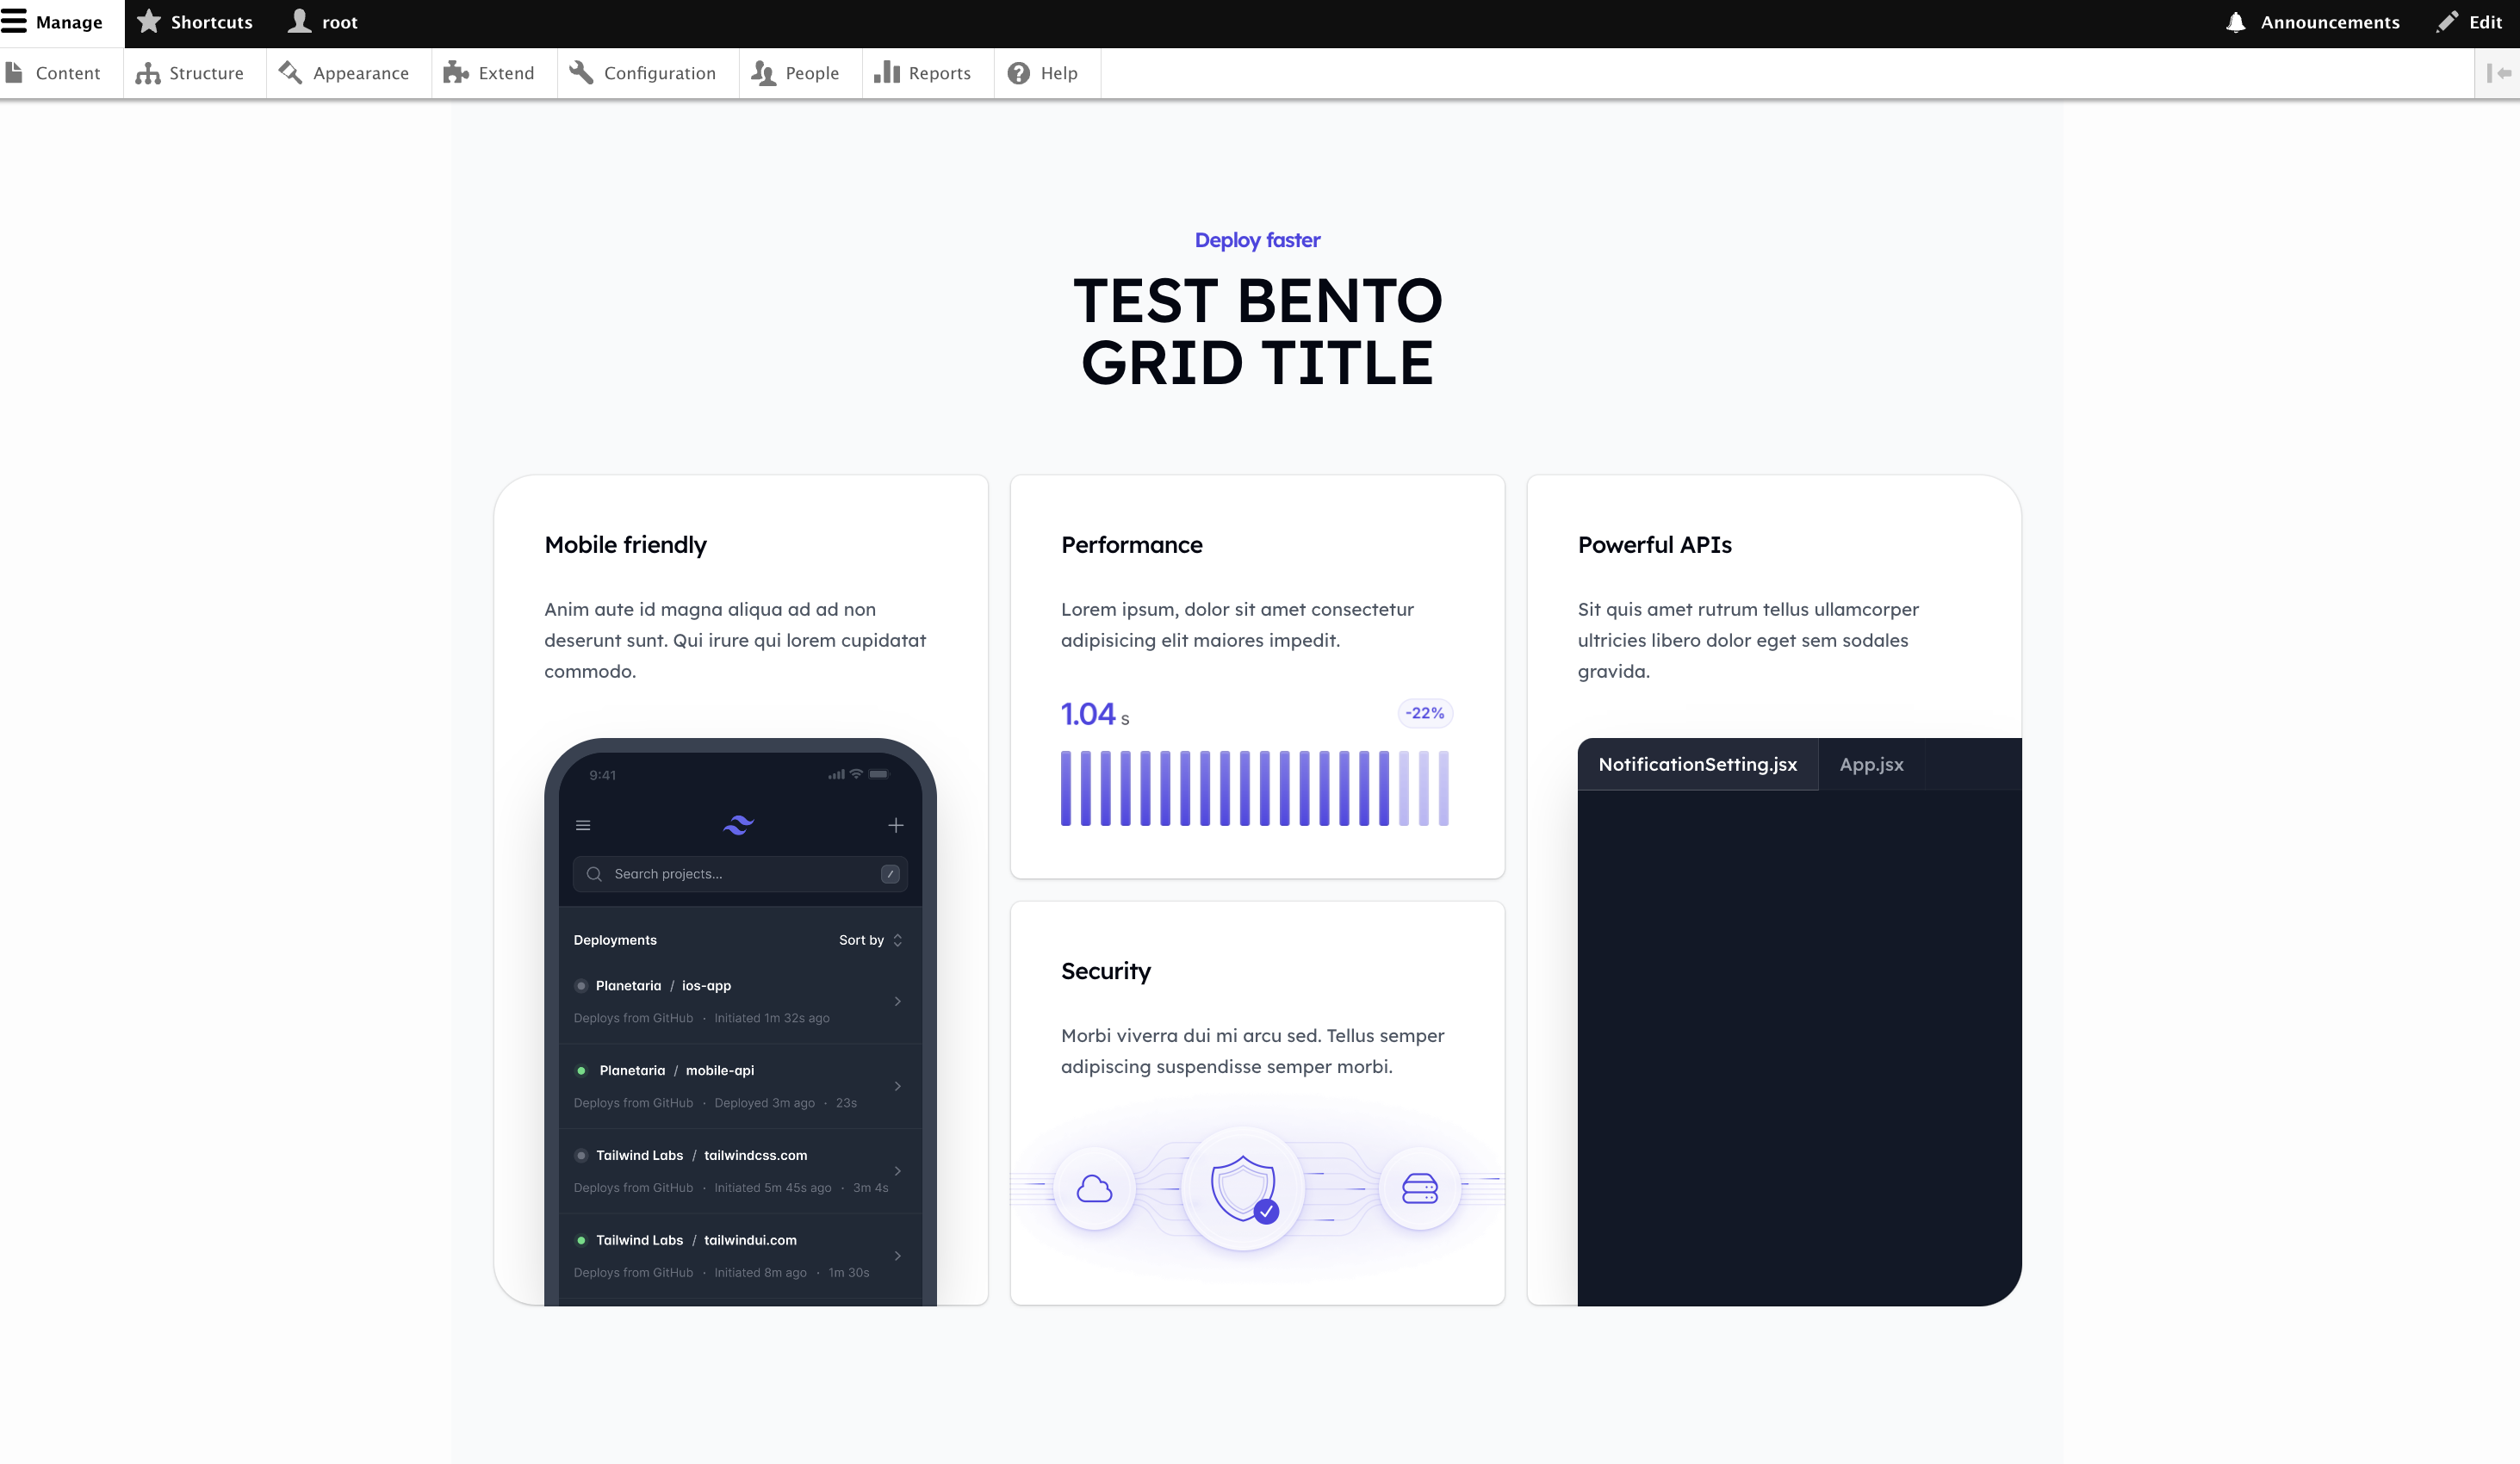
And usually these components are built to be mobile responsive as well !
