Preliminary Setups
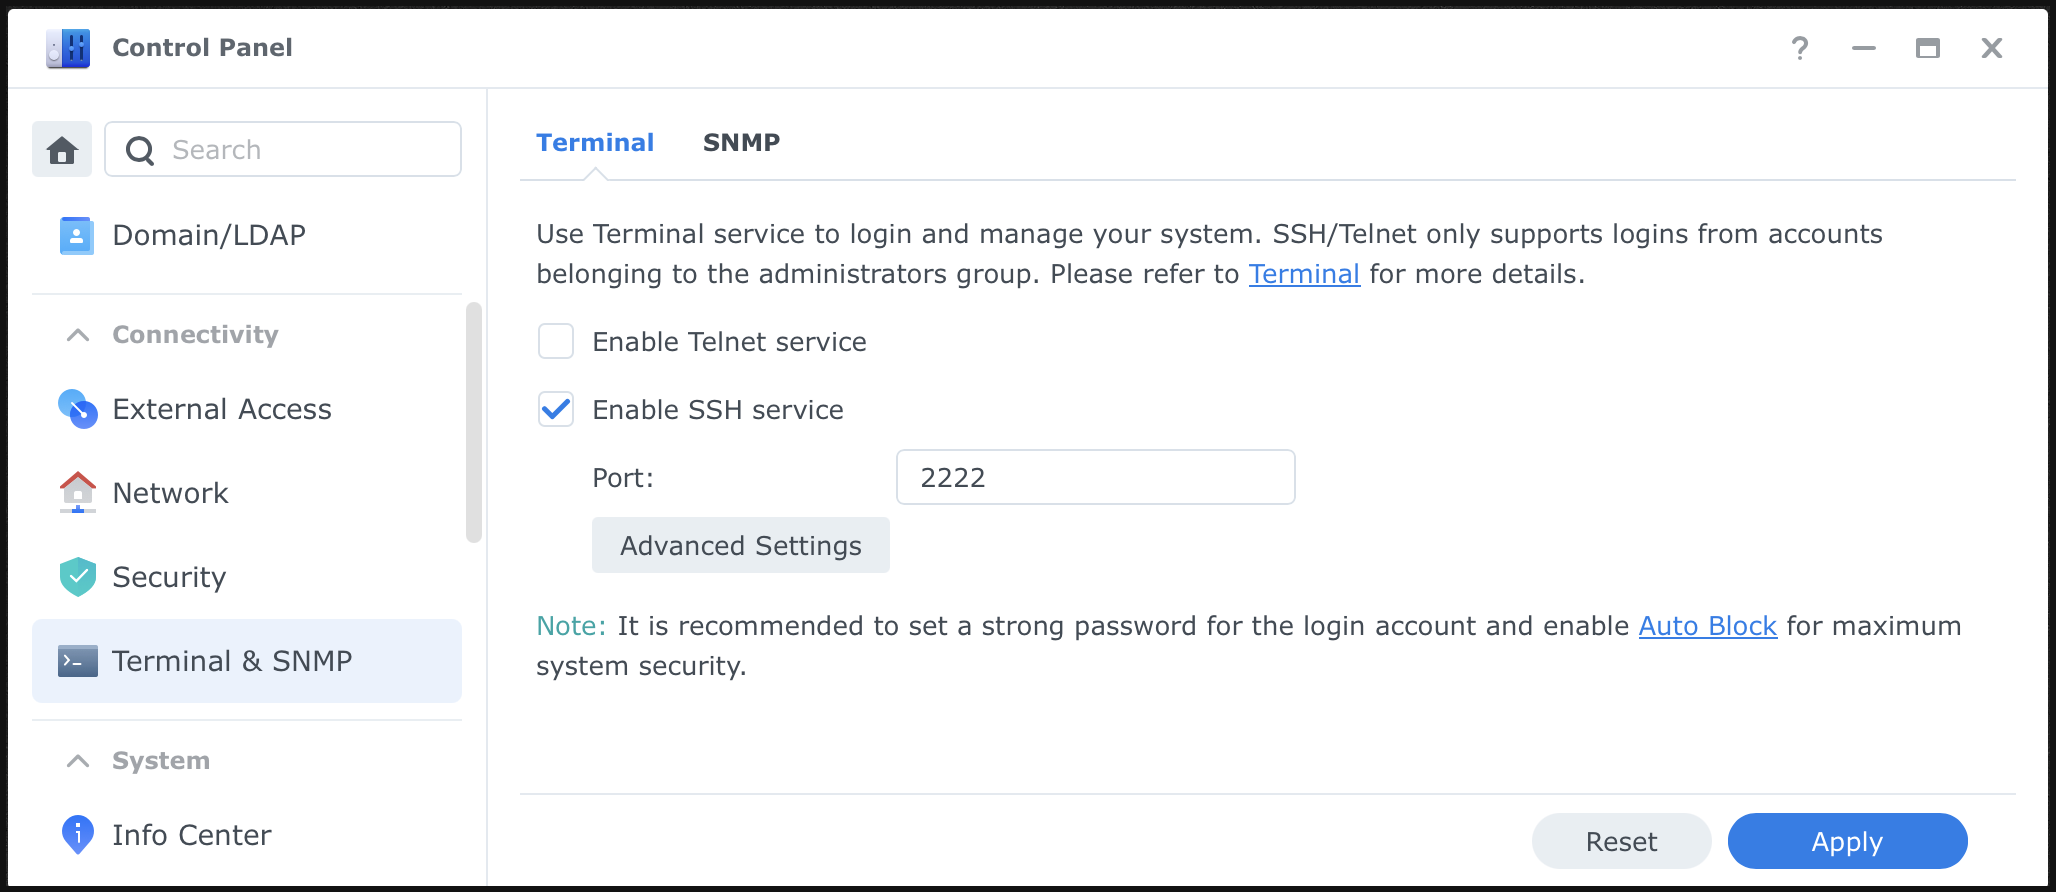
Step 1: Enable SSH Service from DSM
Enable SSH service from Your Synology DSM’s Control Panel (* for security consideration, I would strongly suggest you to change the port away from the default 22, here for showcase purpose I’m using 2222)
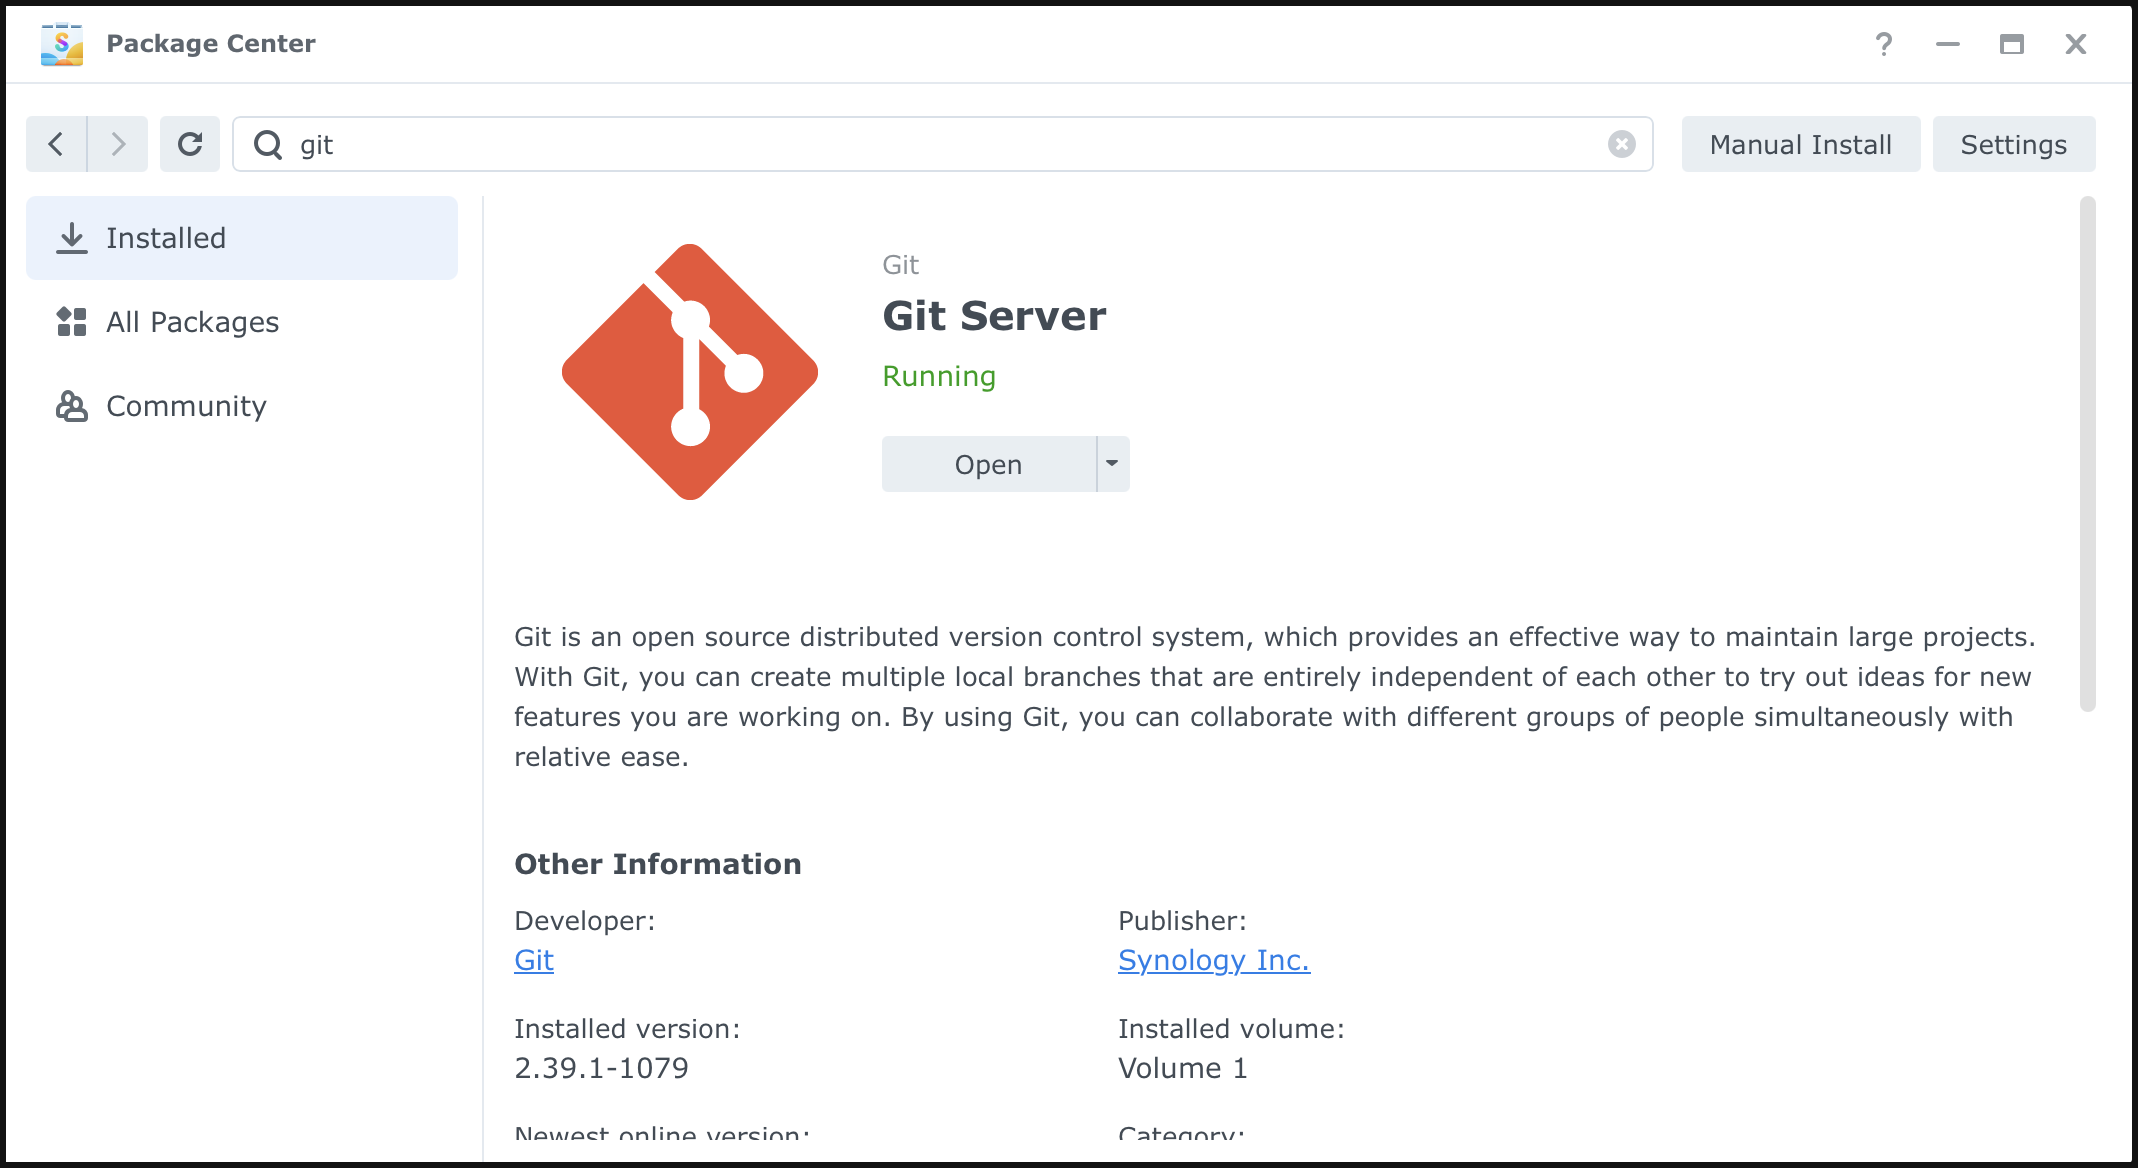
Step 2: Install and Enable Git Server
Install and run the “Git Server” package from your Synology DSM’s Package Center:
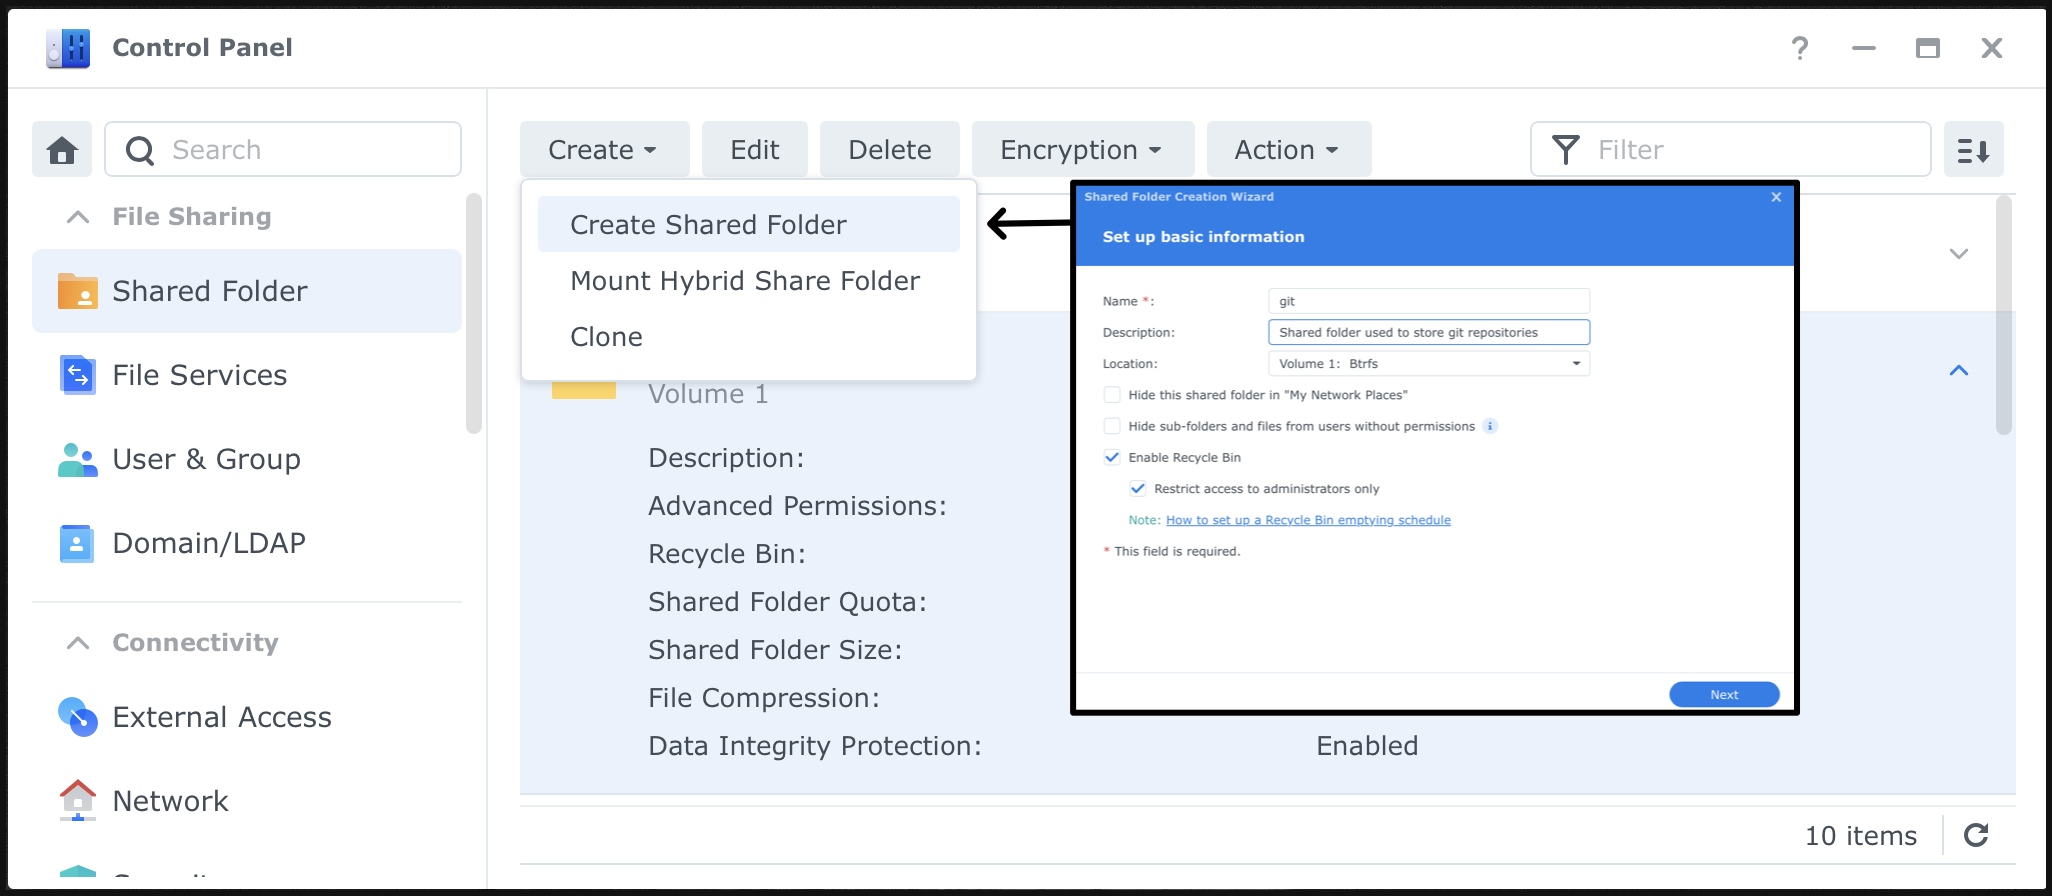
(Optional) Step 3: Create a New Shared Folder
I’d like to clean my directories clean, my rule is that directory segregate the file of different purpose, hence I’ll create a new “Shared Directory” under DSM to store Git related repositories. (*this step may be optional for you)
SSH Key Setup
Using Locally Stored SSH Key
You can following this post by golimb, below are the TLDR if you are using a MacOS device:
Generate ssh-key pairs:
- run
ssh-keygen -t rsa -b 4096 -C 'user@domain.com' - it should generate two files: the one that ends with
.pubis your public key (of which we will use in the next step), and the other one is your private key
- run
Copy the public key:
- open the
*.pubfile and copy its content - it will have the pattern similar to:
ssh-rsa AAAAB3NzaC1yc2EAAAADAQABAA...
- open the
SSH into your Synology NAS using user/password:
- open your terminal and run
ssh {admin-user}@{ip-to-my-synology} -p 2222 - navigate to your user’s root file, i.e.
cd /volume1/home/hello.world - open
.sshfolder (create one if it doesn’t exist), i.e.mkdir .ssh && cd .ssh - open
authorized_keysfile (create one if it does exists), i.e.vi authorized_keys - pate the public key copied earlier
ssh-rsa AAAAB3NzaC1yc2EAAAADAQABAA...to theauthorized_keysfile and save it
- open your terminal and run
Change file permissions
- Change user folder permission:
sudo chmod 755 /volume1/homes/{admin-user} - Change
.sshfolder permission:sudo chmod 755 /volume1/homes/{admin-user}/,ssh - Change
.ssh/authorized_keyfile permission:sudo chmod 644 /volume1/homes/{admin-user}/.ssh/authorized_keys
- Change user folder permission:
Test Connection
Run the following command from terminal:
ssh {admin-user}@{nas-ip-or-host} -p {specifiedCustomPort} -o "IdentitiesOnly=yes" -i {privateKey}If you want a more convenient way of logging in without specifying the bunch of flags, consider using ssh config file (link), for instance:
1
2
3
4
5
6
Host my-nas HostName nas.example.com User admin-user Port 2222 IdentityFile ~/.ssh/my_nas_ed25519 IdentitiesOnly yesThen you can login via
ssh my-nas
(Optional) Using 1Password SSH Key Agent
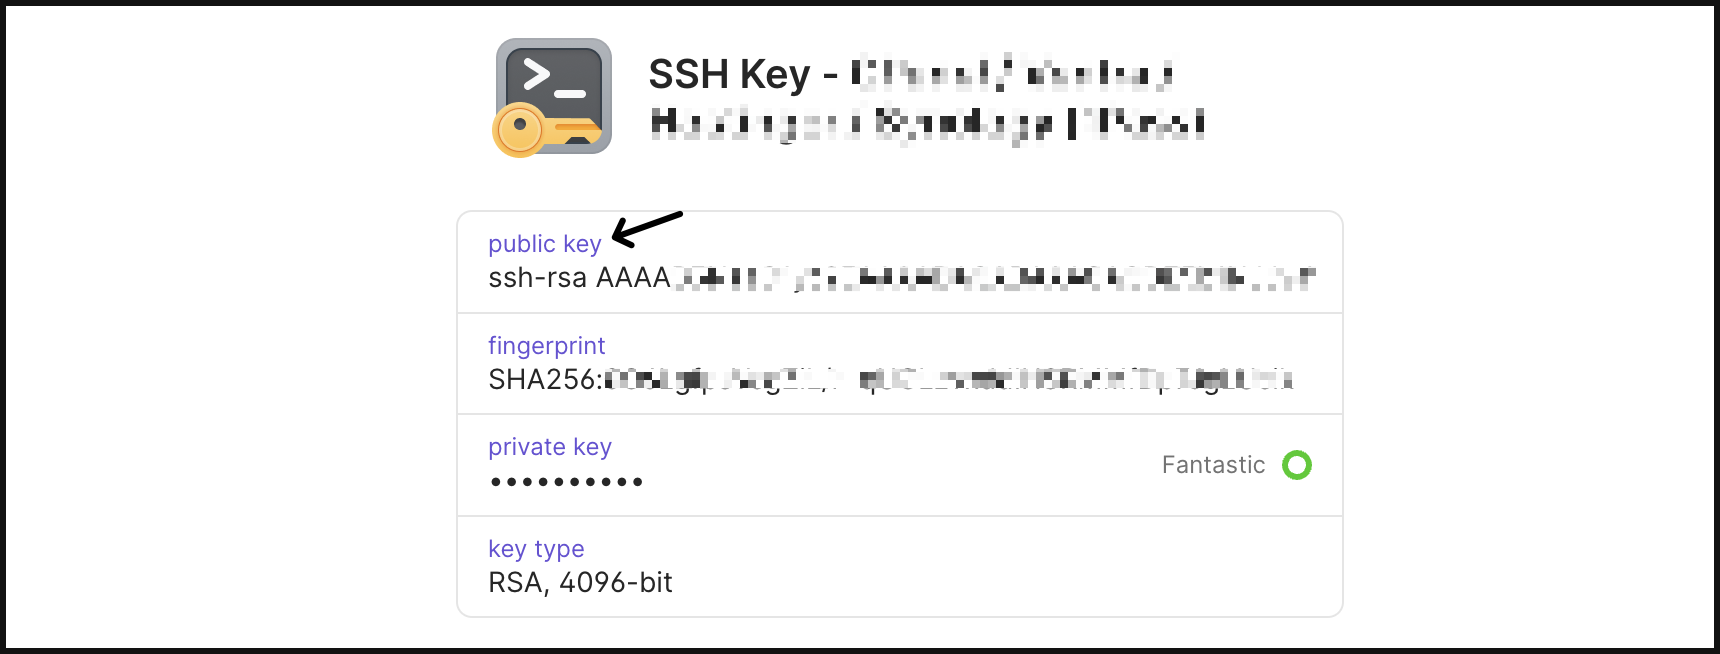
If you are using 1Password SSH key agent like me, you can use the public key copied from your 1Password, and use it instead of the ssh-keygen generated ssh key:
And then you can add the following in your host computer’s ~/.ssh/config file (e.g. /Users/user_name/.ssh/config on MacOS):
| |
Once setup, when you need to use any relevant private key setup and stored in your 1Password, you will be prompted to use your TouchID / Password like the following:
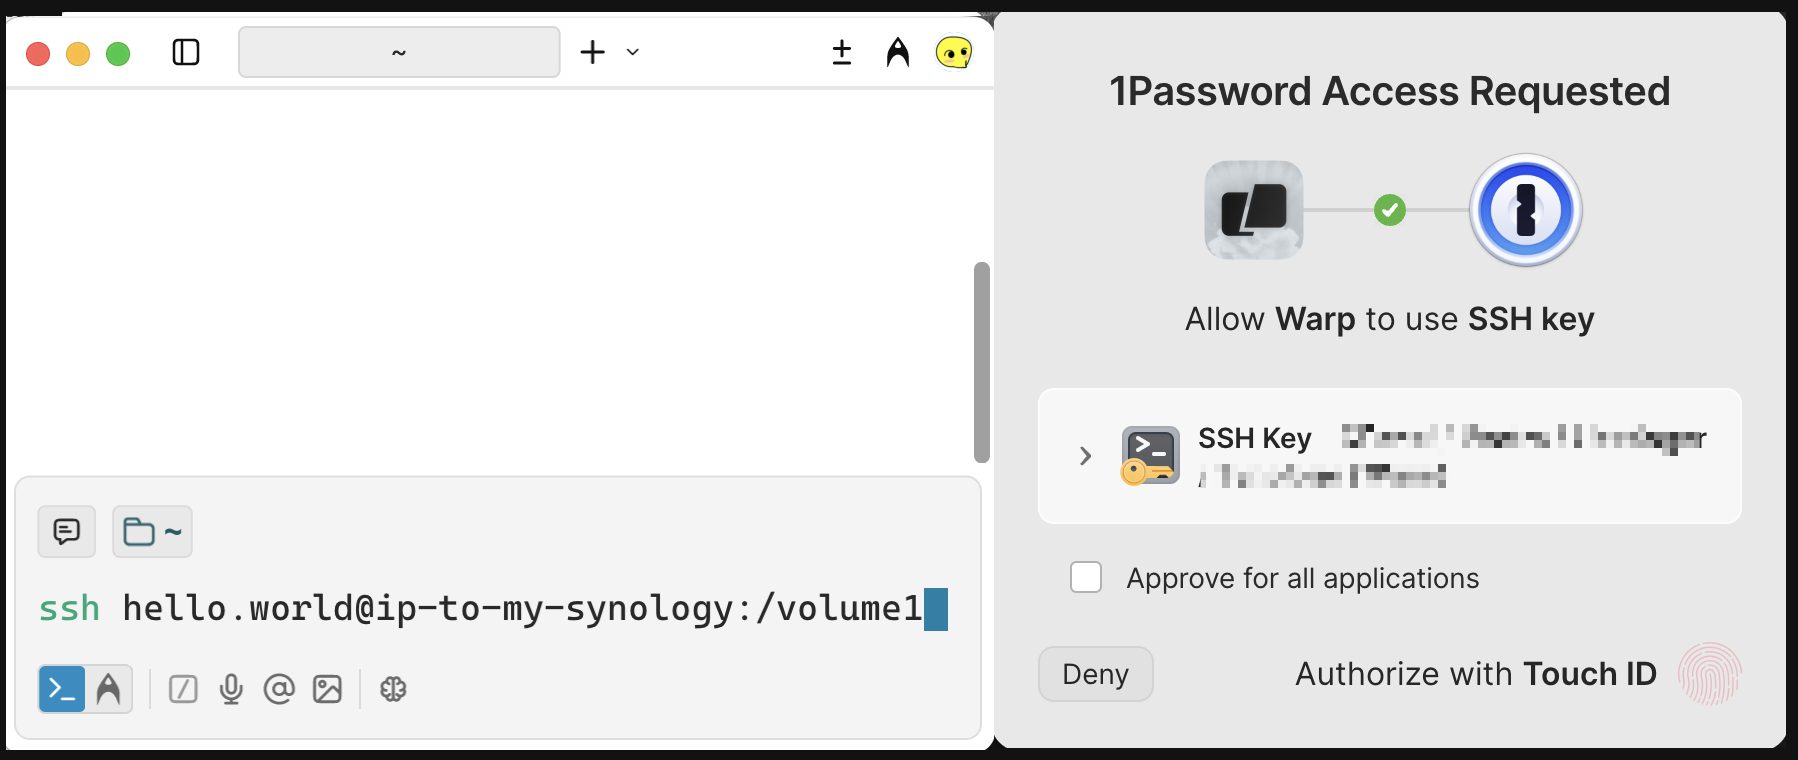
(Find out more at: https://developer.1password.com/docs/ssh/agent/)
Using Git Service in NAS
In order to use git service in Synology NAS, you will have to go through the following steps:
SSH onto NAS:
ssh nas-ip-or-hostCreate New Directory (as Root for Git Repository):
cd /volume1/git && mkdir -p directory-as-git-repo(the-pflag will only create the directory if it doesn’t exist)Setup/Initialise Repository on Server (that Acts as Hub):
git init --bare(the--bareflag creates a repository that does not have a working directory)Abort from SSH: via
Ctrl + Dshortcut, orexitcommandCloning Repository from Local Machine : via
git clone ssh://nas-ip-or-host:/volume1/git/temp-repo-for-test-deletable
I’ve produced a code snippet that does it for me:
| |
Use Git Repository in NAS as an Backup (to the Actual Environment)
Below are some extra code snippets I experimented for this:
Pull existing repository:
1
2
git clone ssh://nas-ip-or-domain:/directory-to-the-git-repo e.g. git clone ssh://my-nas:v/olume1/git/my-python-projectAdd existing repository as remote:
1
2
git remote add remote-name ssh://nas-ip-or-domain:/directory-to-the-git-repo e.g. git remote add synology ssh://my-nas:/volume1/git/my-python-projectCreate a new branch from current branch (and push to the added remote)
1
2
git checkout -b your-branch-name e.g. git checkout -b main-synology1 2git push remote-name your-branch-name e.g. git push synology main-synologyAdd push the current bran to both existing remote, and synology (add extra remove push destination)
1
2
git remote set-url --add --push remote-name ssh://nas-ip-or-domain:/directory-to-the-git-repo && git push e.g. git remote set-url --add --push origin ssh://my-nas:/volume1/git/my-python-project && git push⬆️ this command will add an extra
pushurl = ...to your.git/configfile and use that as the ONLY default push destination, so I would recommend adding the existing / default url first usinggit remote get-url origin | xargs git remote set-url --add --push origin
If you’re like me, all you need is to keep a backup of an existing GitHub repository in your NAS (i.e. one-sided sync), you can use the following command:
- create the git repository in your NAS with the same name (using the snippet we used earlier)
- add the existing (manually add the
--pushurl to prevent it being overridden by the NAS’s URL next step) - add your NAS’s git repository to your
originremote (usinggit remote set-url --add --pushcommand) - run push the
originremote (now it will push both to GitHub/GitLab and your NAS)
| |
Reference
- Golimb - Synology SSH Key Authentication: link
- Digital Aloha - How To Setup And Use Git Server On A Synology NAS: link
- 1Password Developer - 1Password SSH agent: link
- Synology Knowledge Center - Git Server: link
- Тsфdiиg - Microsoft doesn’t want you to know this (Use SSH Reachable Server as Git Server): link