Interface Related
Navigation
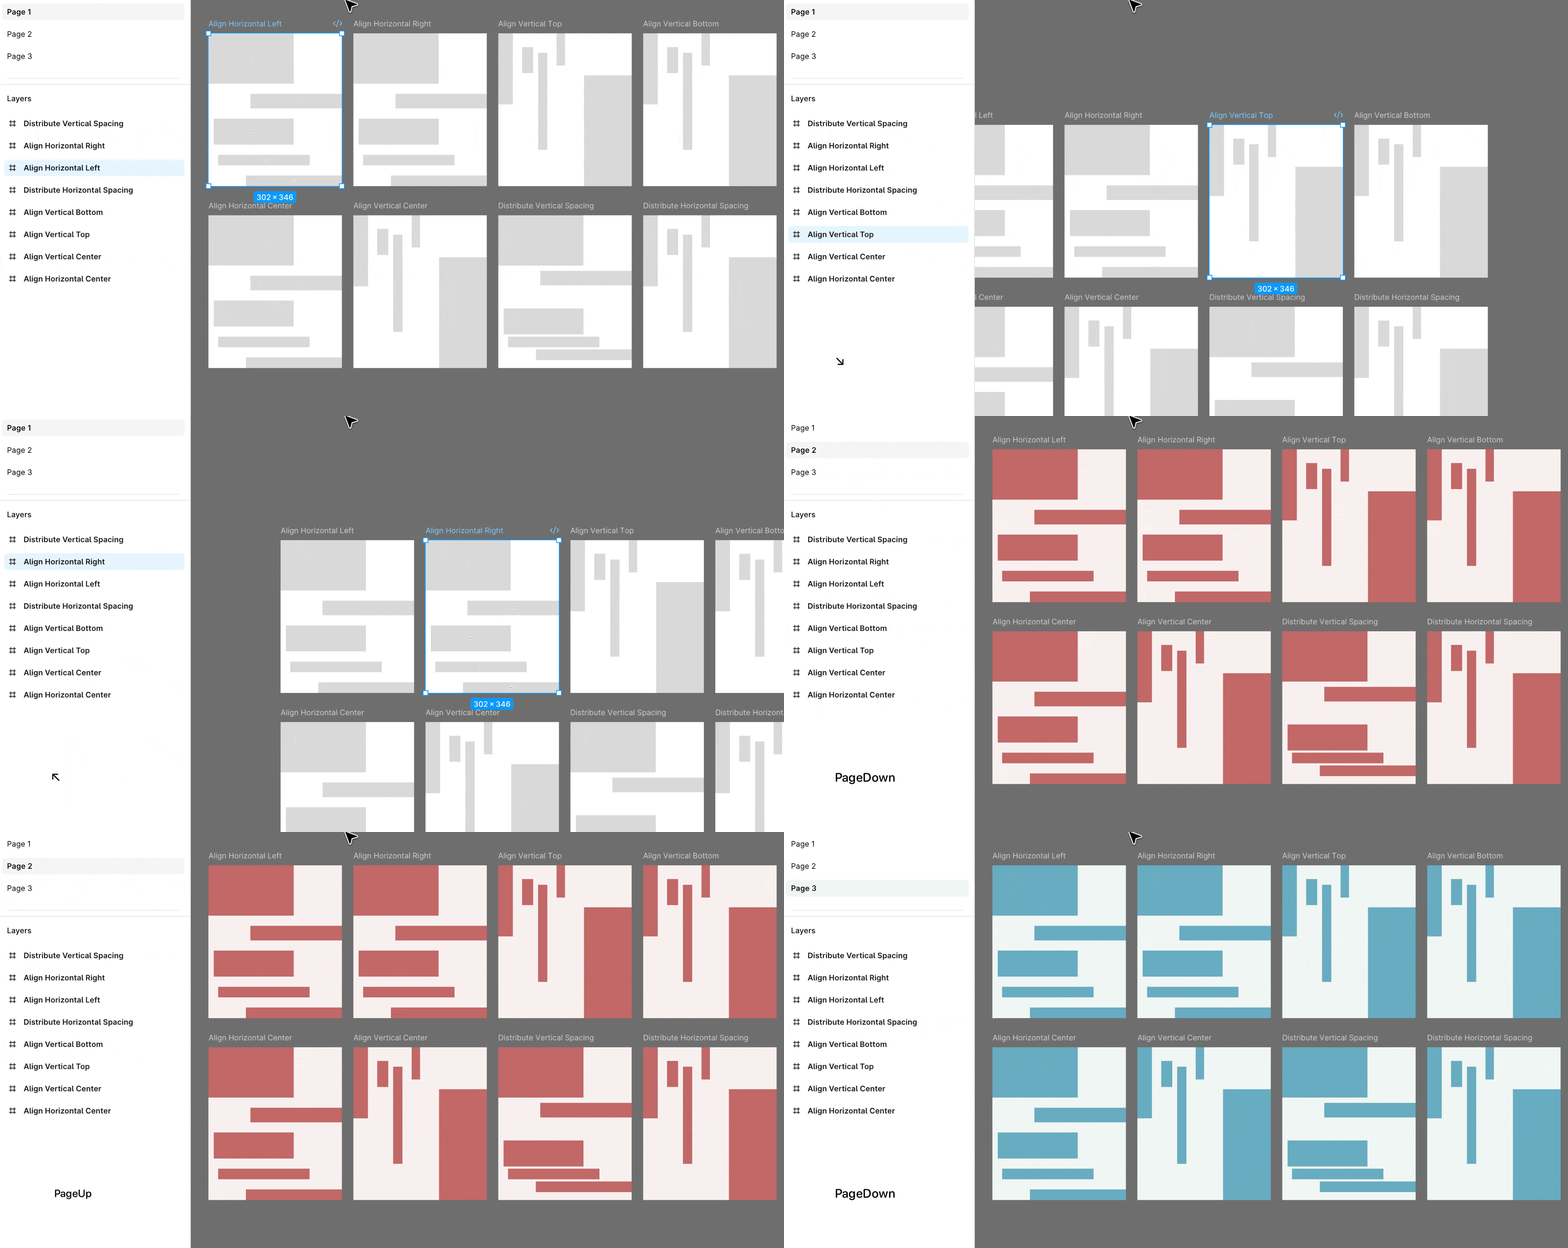
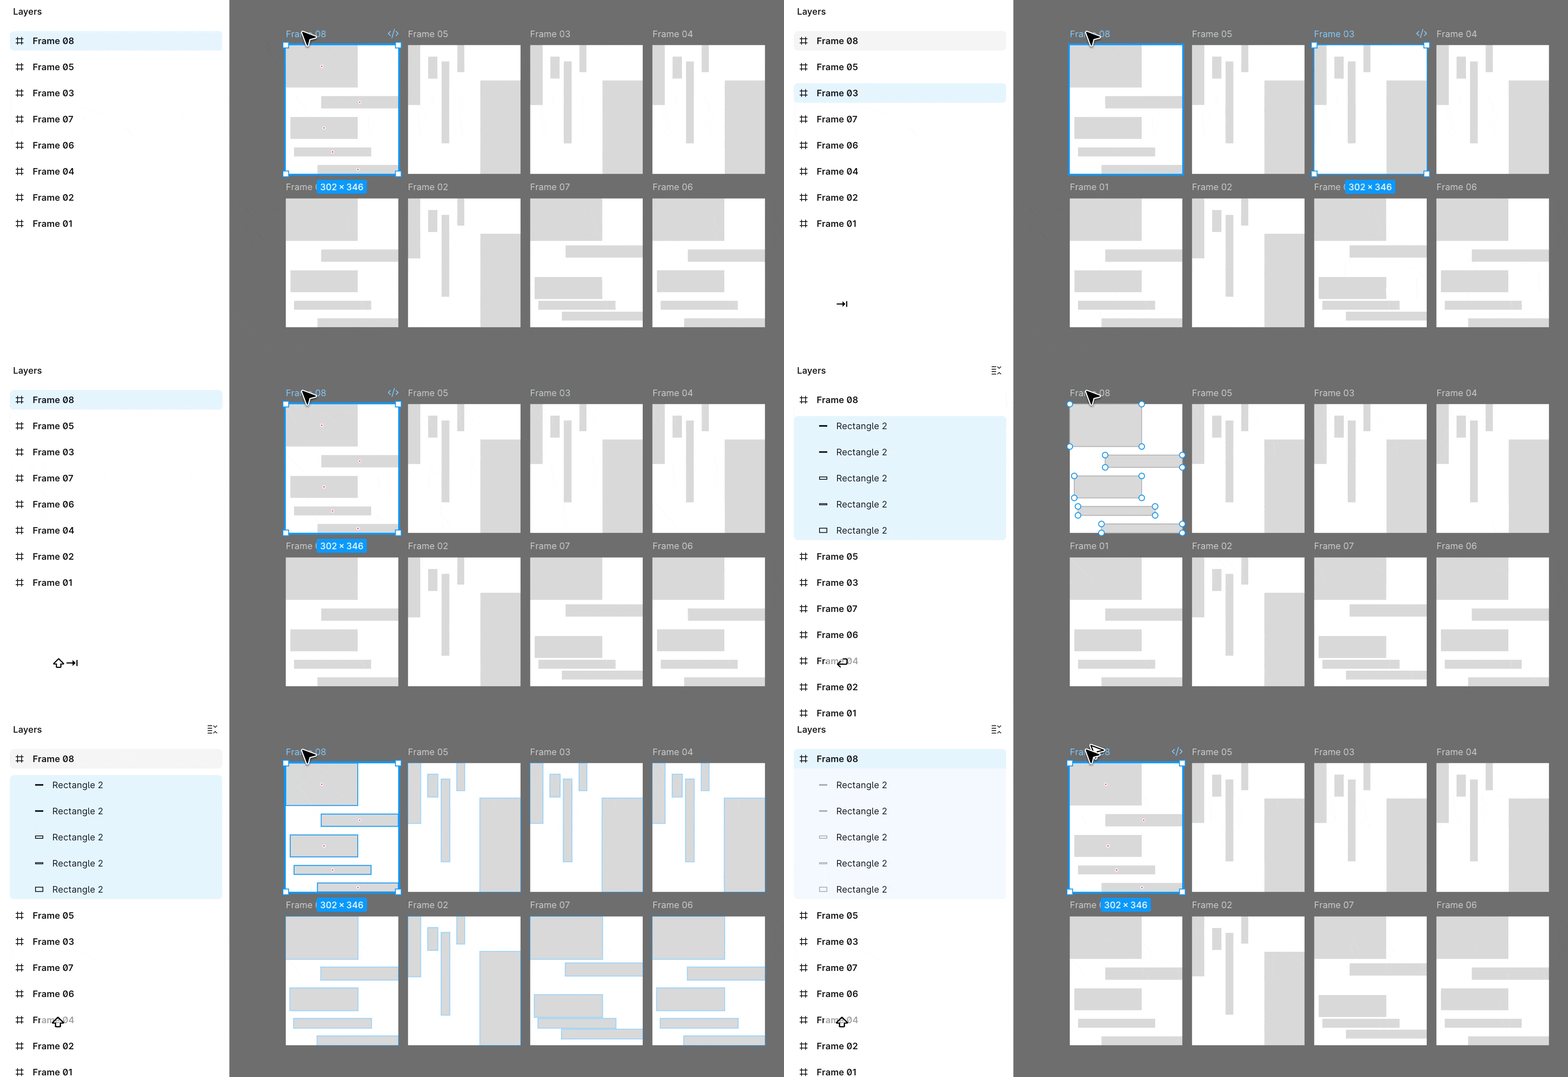
Fn →,Fn ←(Home,End): Go to next frame, go to previous frameFn ↑,Fn ↓(PageUp,PageDown): Go to next page, go to previous pageTab,⇧ Tab: Go to next sibling, go to previous sibling (sibling in the layer)Enter,⇧ Enter(orFn ⇧ Enter): Go to child, to to parent (when multiple children present, all of them will be selected)
Interaction
Selecting objects
drag-select: select objects that is in your current selection boxshift + click: add / remove object from your current selectionNudge (moving stuff around)
↑,↓,←,→: small nudge (move the element by1px)⇧↑,⇧↓,⇧←,⇧→: big budget (move the element by10px)- (*you can configure the nudge amount in the “Preferences Nudge Amount” setting)
Bring front/back
[,]: bring to front (top layer), send to back (bottom layer)⌘[,⌘], bring forward, send backward (move one layer per step)
Zoom
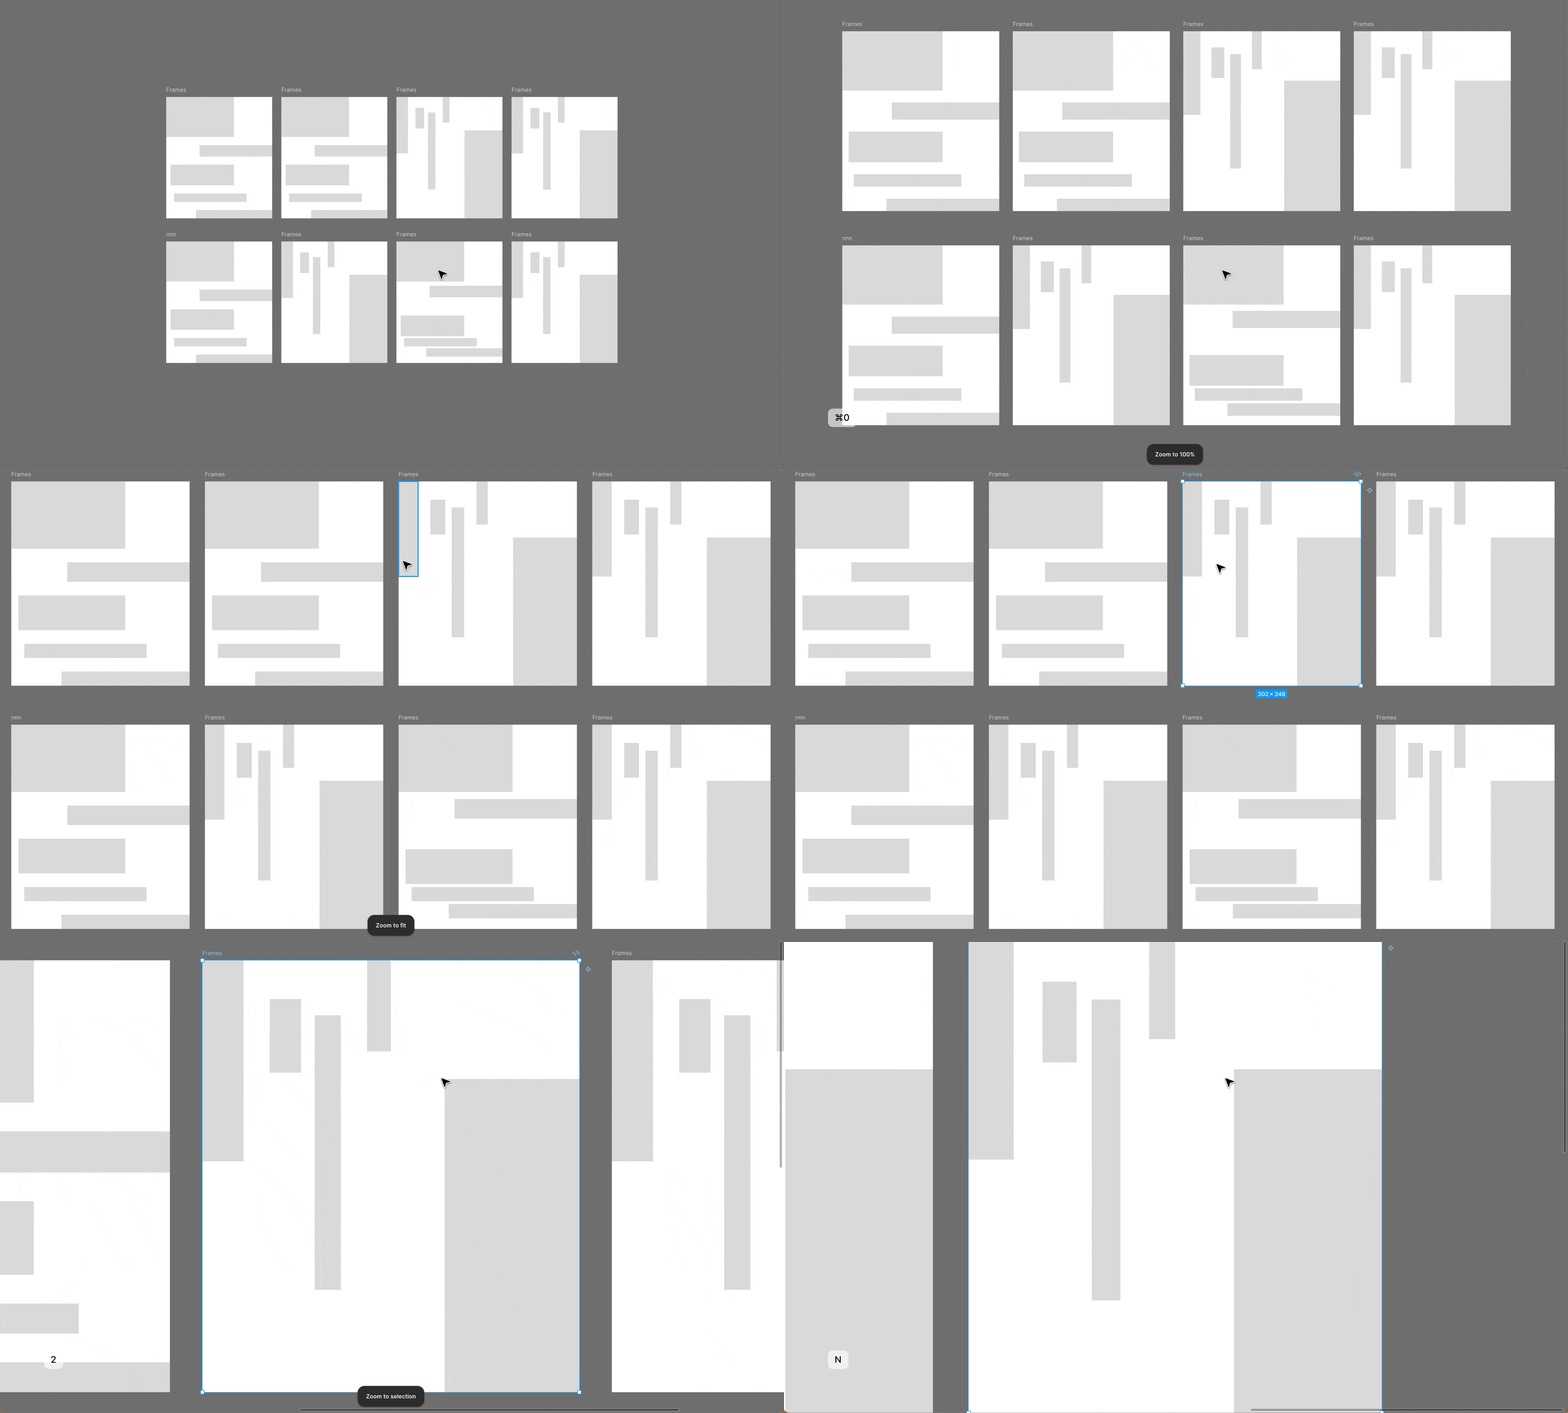
1: zoom to fit (zoom to a ratio that will fit everything you have in the current page)
2: zoom to selection (zoom to fit your current cursor selection)
n,⇧n: zoom to next frame, zoom to previous frame
⌘ 0: zoom to 100% (would be useful if you want to view how the page may looks like on your current device)
⌘ +,⌘ -: zoom in, zoom out (I would just prefer using gesture on trackpad)
Duplicating
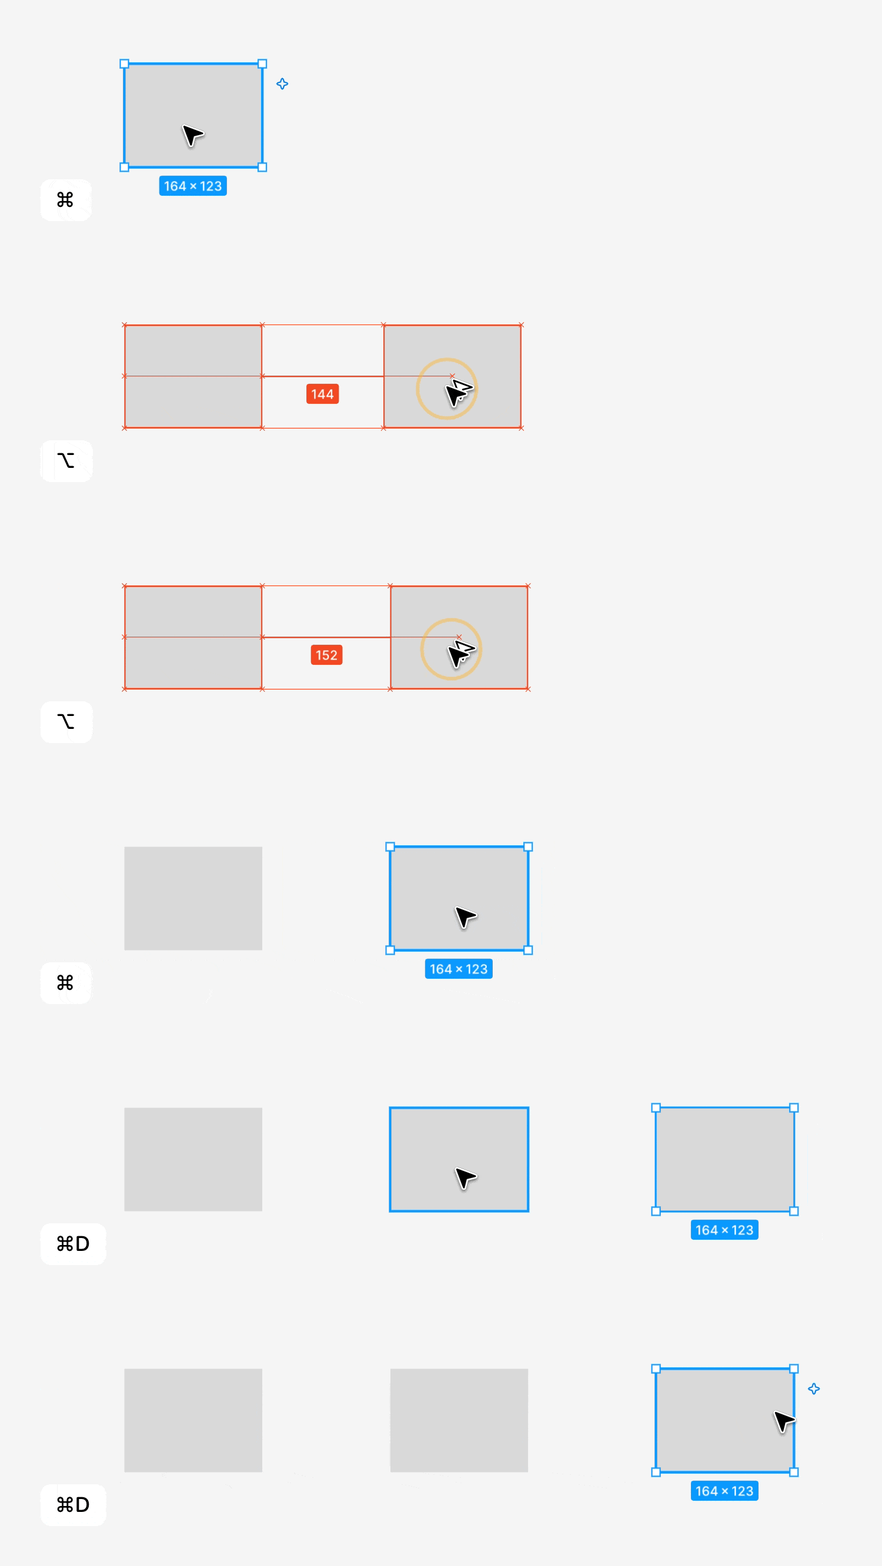
You can duplicate using either keyboard shortcut or modifier key:
⌥+drag-dropto duplicate the selection on where you release the mouse⌘Dto duplicate the selection (by default it will be duplicate right underneath the selection on the same position)Note that once you duplicate an object using either of the above method, and then move and rotate the duplicate, the relative translation and rotation between the original and the duplicate are recorded. These recorded offsets will be applied as the transform and rotation for the next item you duplicate using the keyboard shortcut, as shown below.
(*You can find more details about this at this official tutorial: https://youtu.be/ObgYJ74C_uE)
Other
UI / Sidebar
⌘ \: Toggle UI (show or hide the sidebar)⇧⌘\: Use minimised UI (hide left sidebar but show right panel)⌥ L: Collapse layers (collapse folder on the layer sidebar)⌘ P: Open quick action panelAssist / Guide
⇧G: Toggle layout guide (e.g. 12 column layout overlay, when dragging the item will snap to the columns)⇧R: Toggle rulers
Layout Related
Alignment
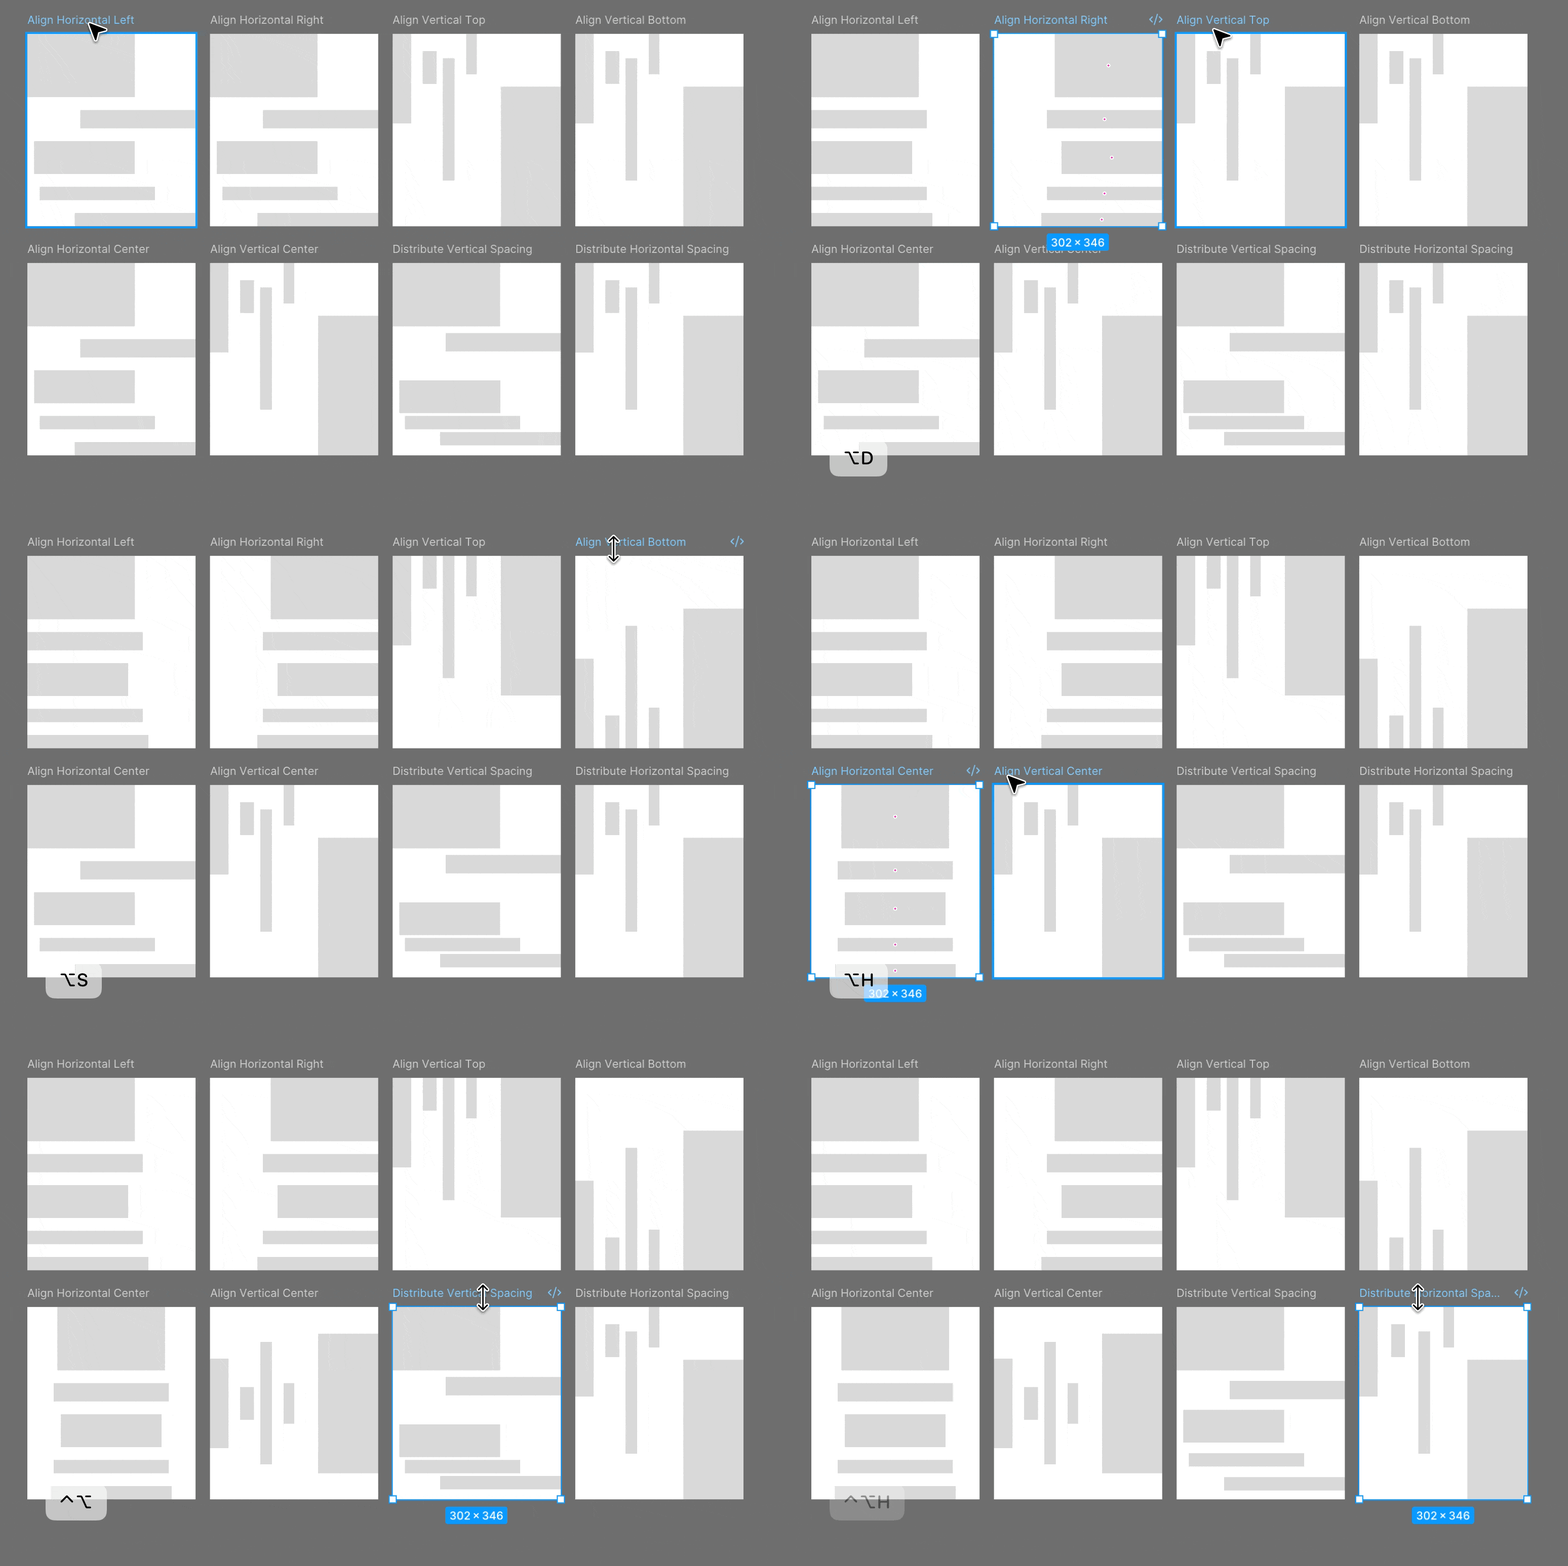
⌥w,⌥a,⌥s,⌥d: align top, align left, align bottom, align right
⌥h,⌥v: align centre in horizontal axis, align centre in vertical axis
⌃⌥h,⌃⌥v: distribute spacing in horizontal axis, distribute spacing in vertical axis(*The above alignment functionalities is only functional when free form is active (auto-layout is NOT being used))
Organise
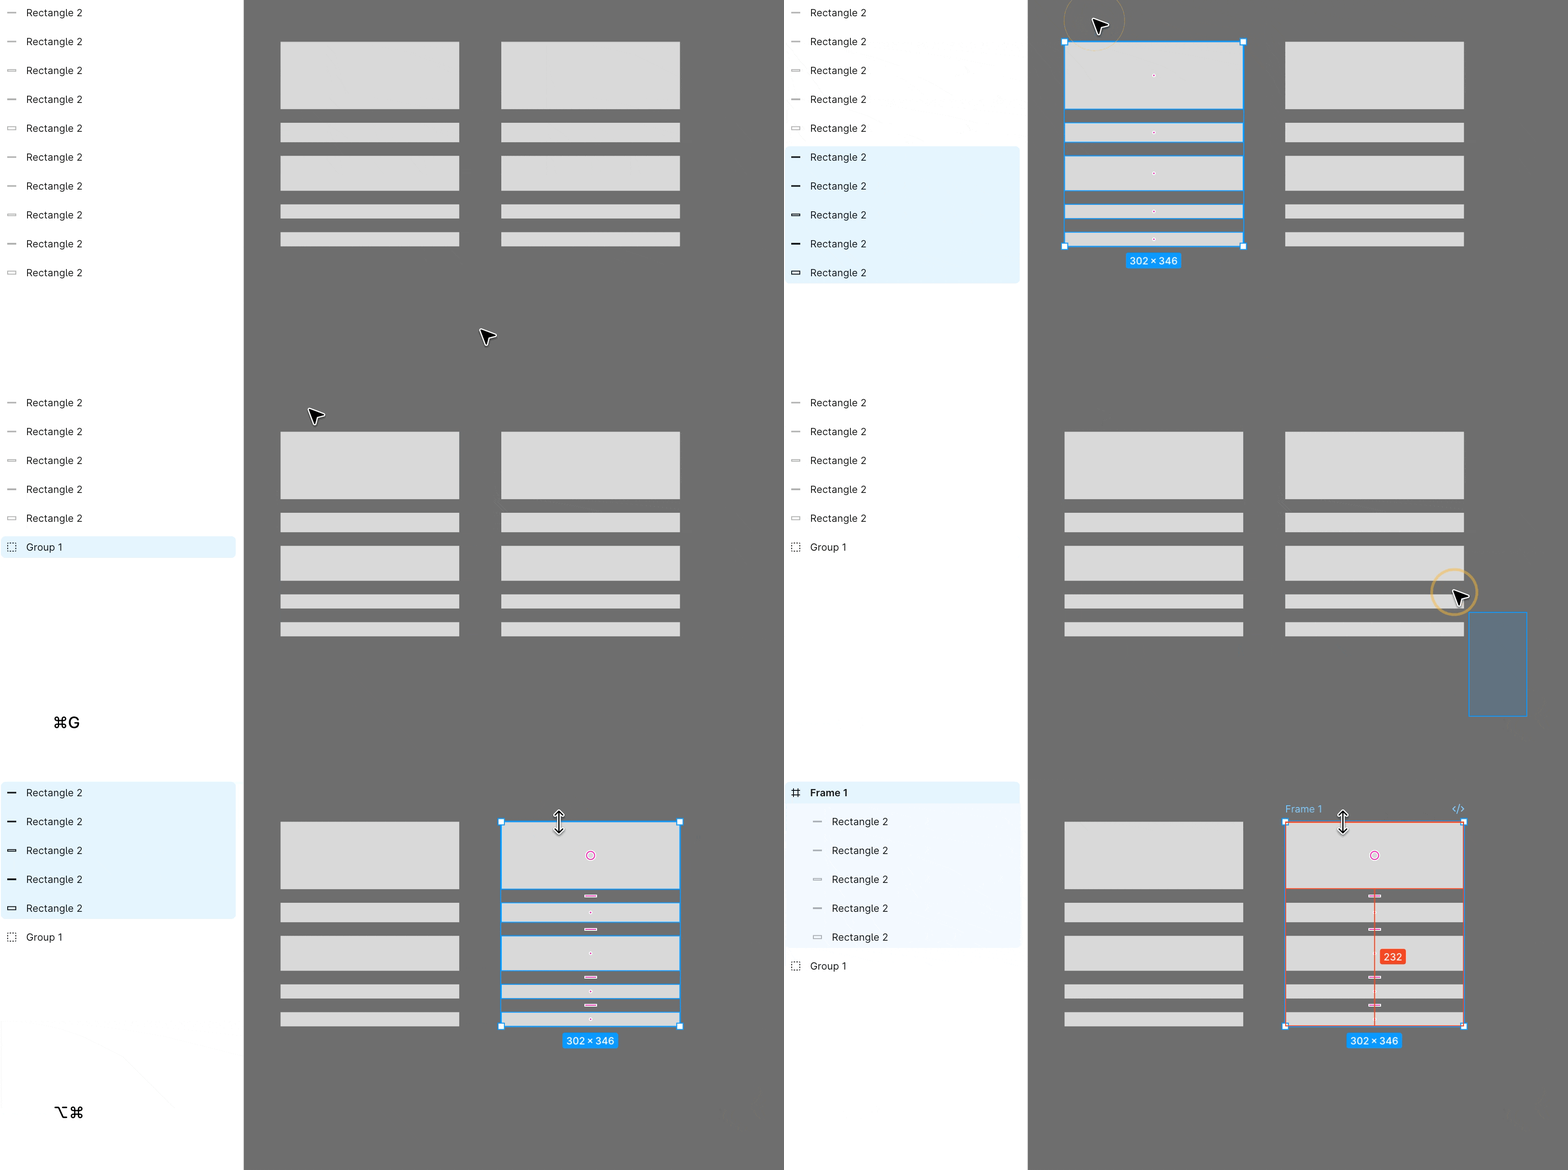
⌘GGroup current selection
⌥⌘GFrame current selection
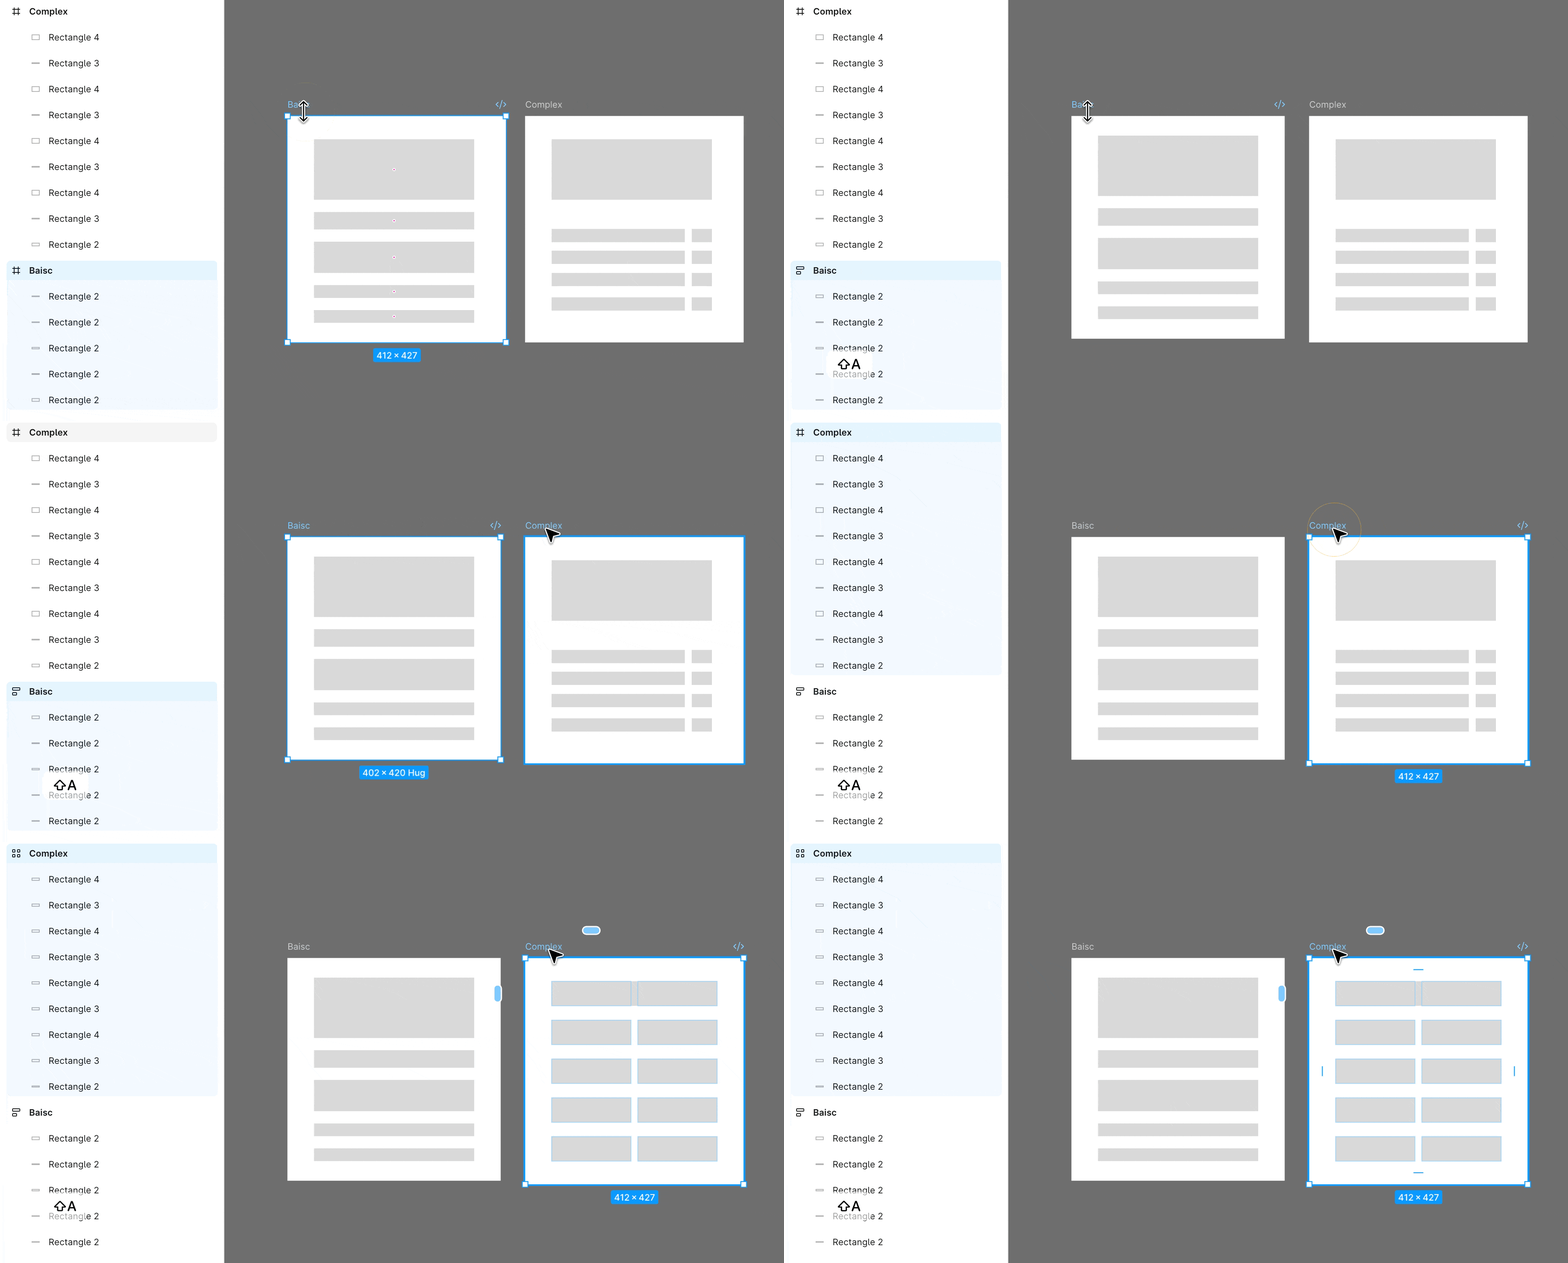
⇧AAuto Layout (Manual) for current selection
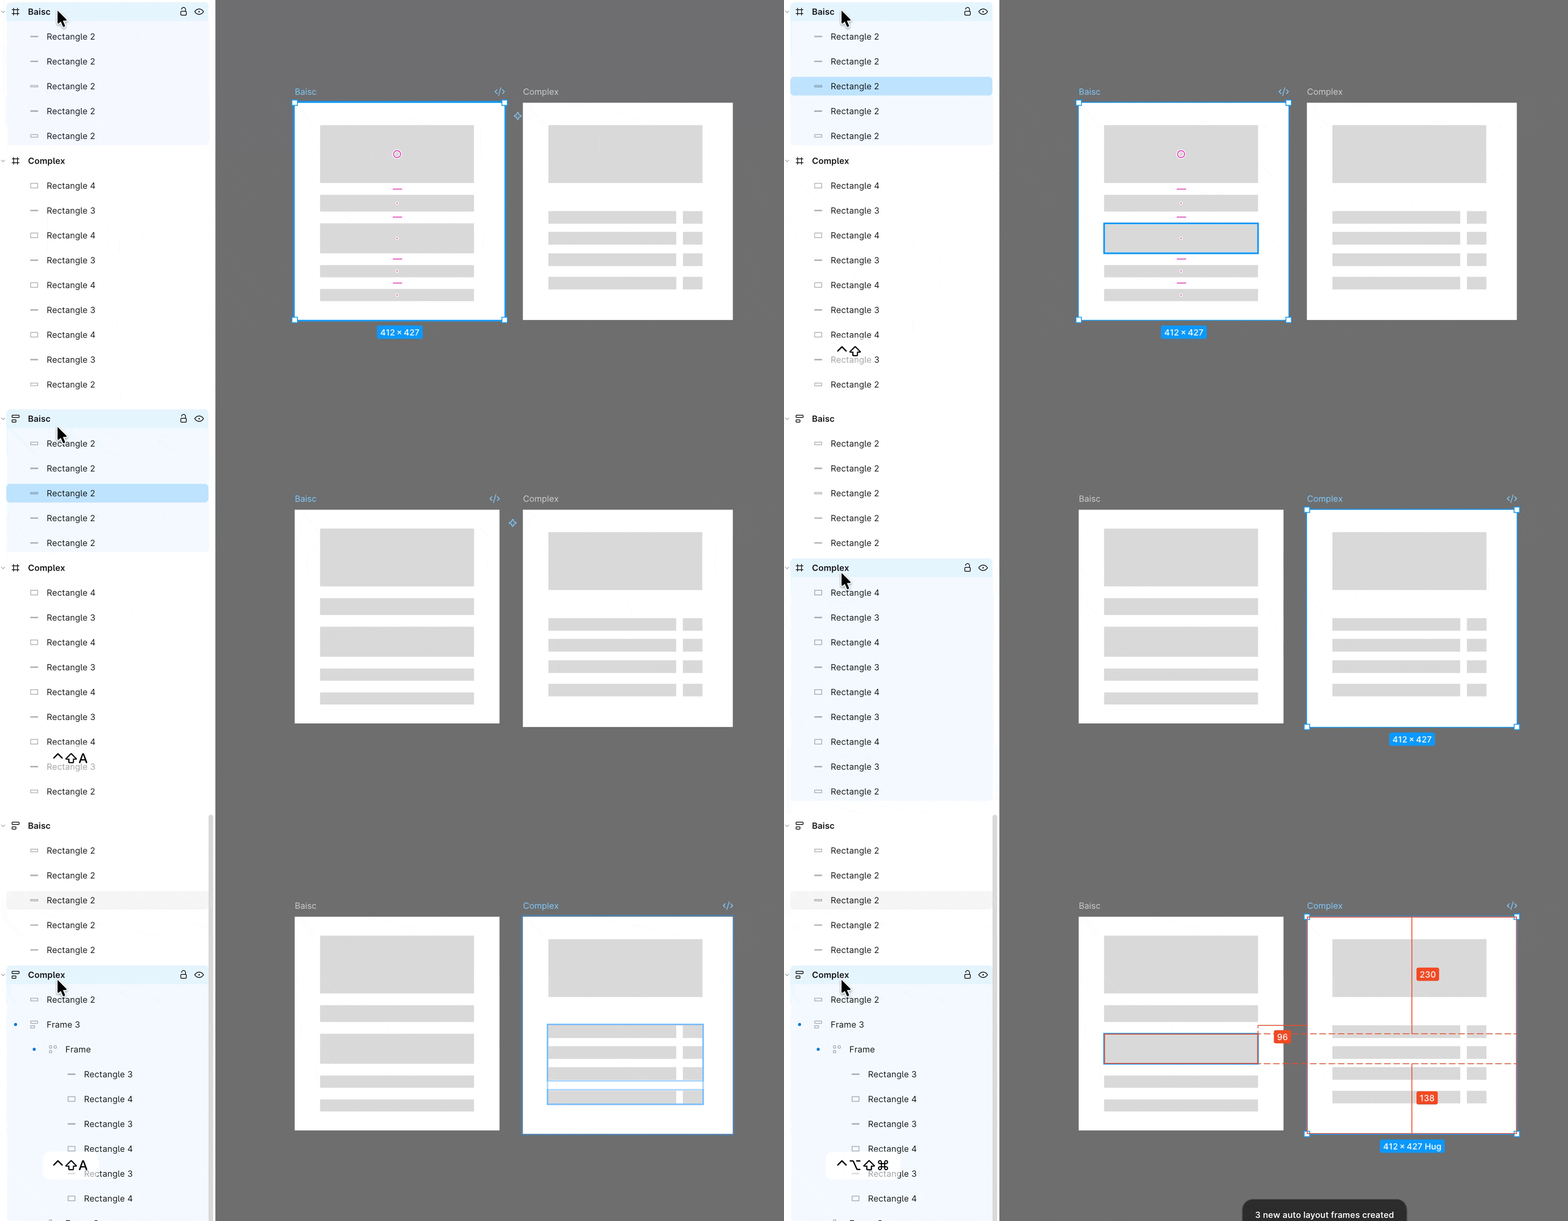
⌃⇧ASuggest Auto Layout (AI Powered) for current selection(* as you can see from the above example, the “suggest auto layout” can intelligently setup auto-layout inside the current selected frame, you can learn more about this topic in this video: https://www.youtube.com/watch?v=h13lHNx6rtI )
Component
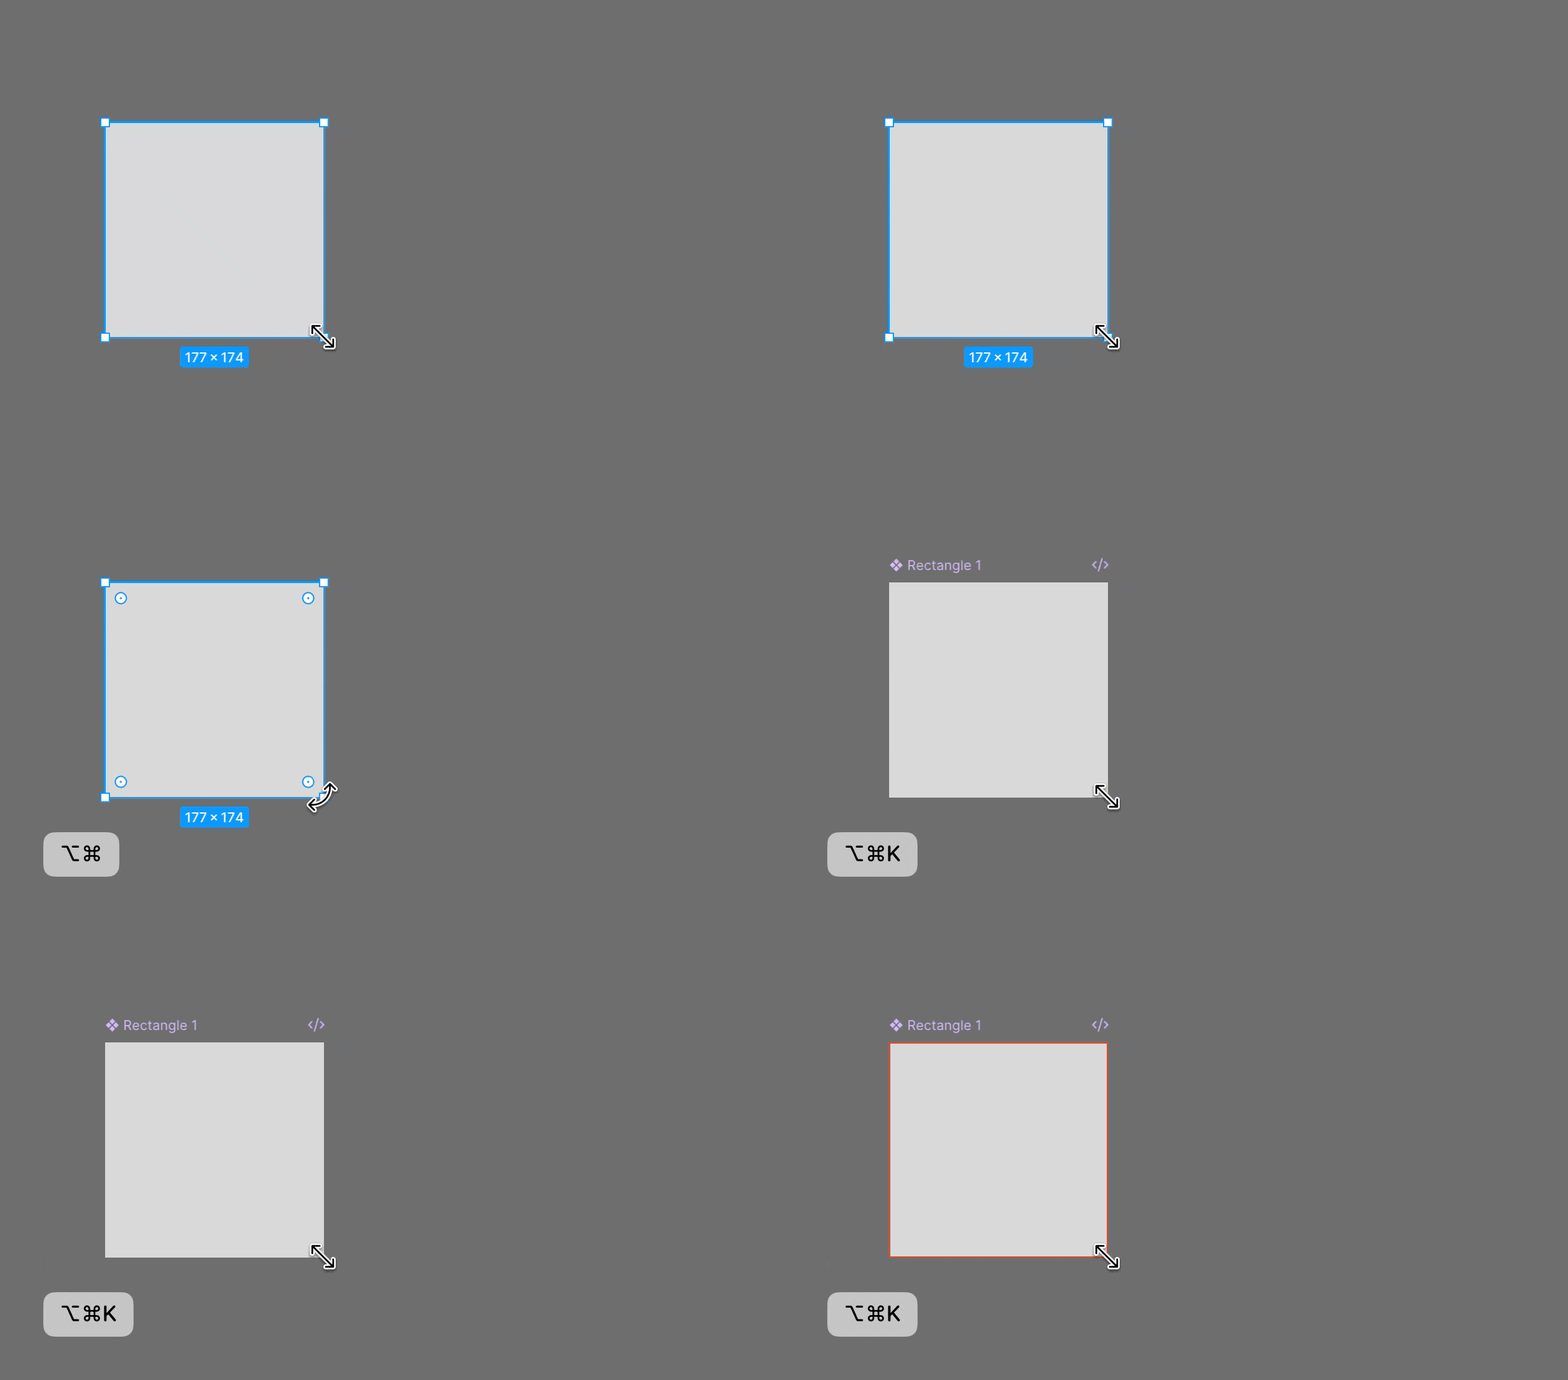
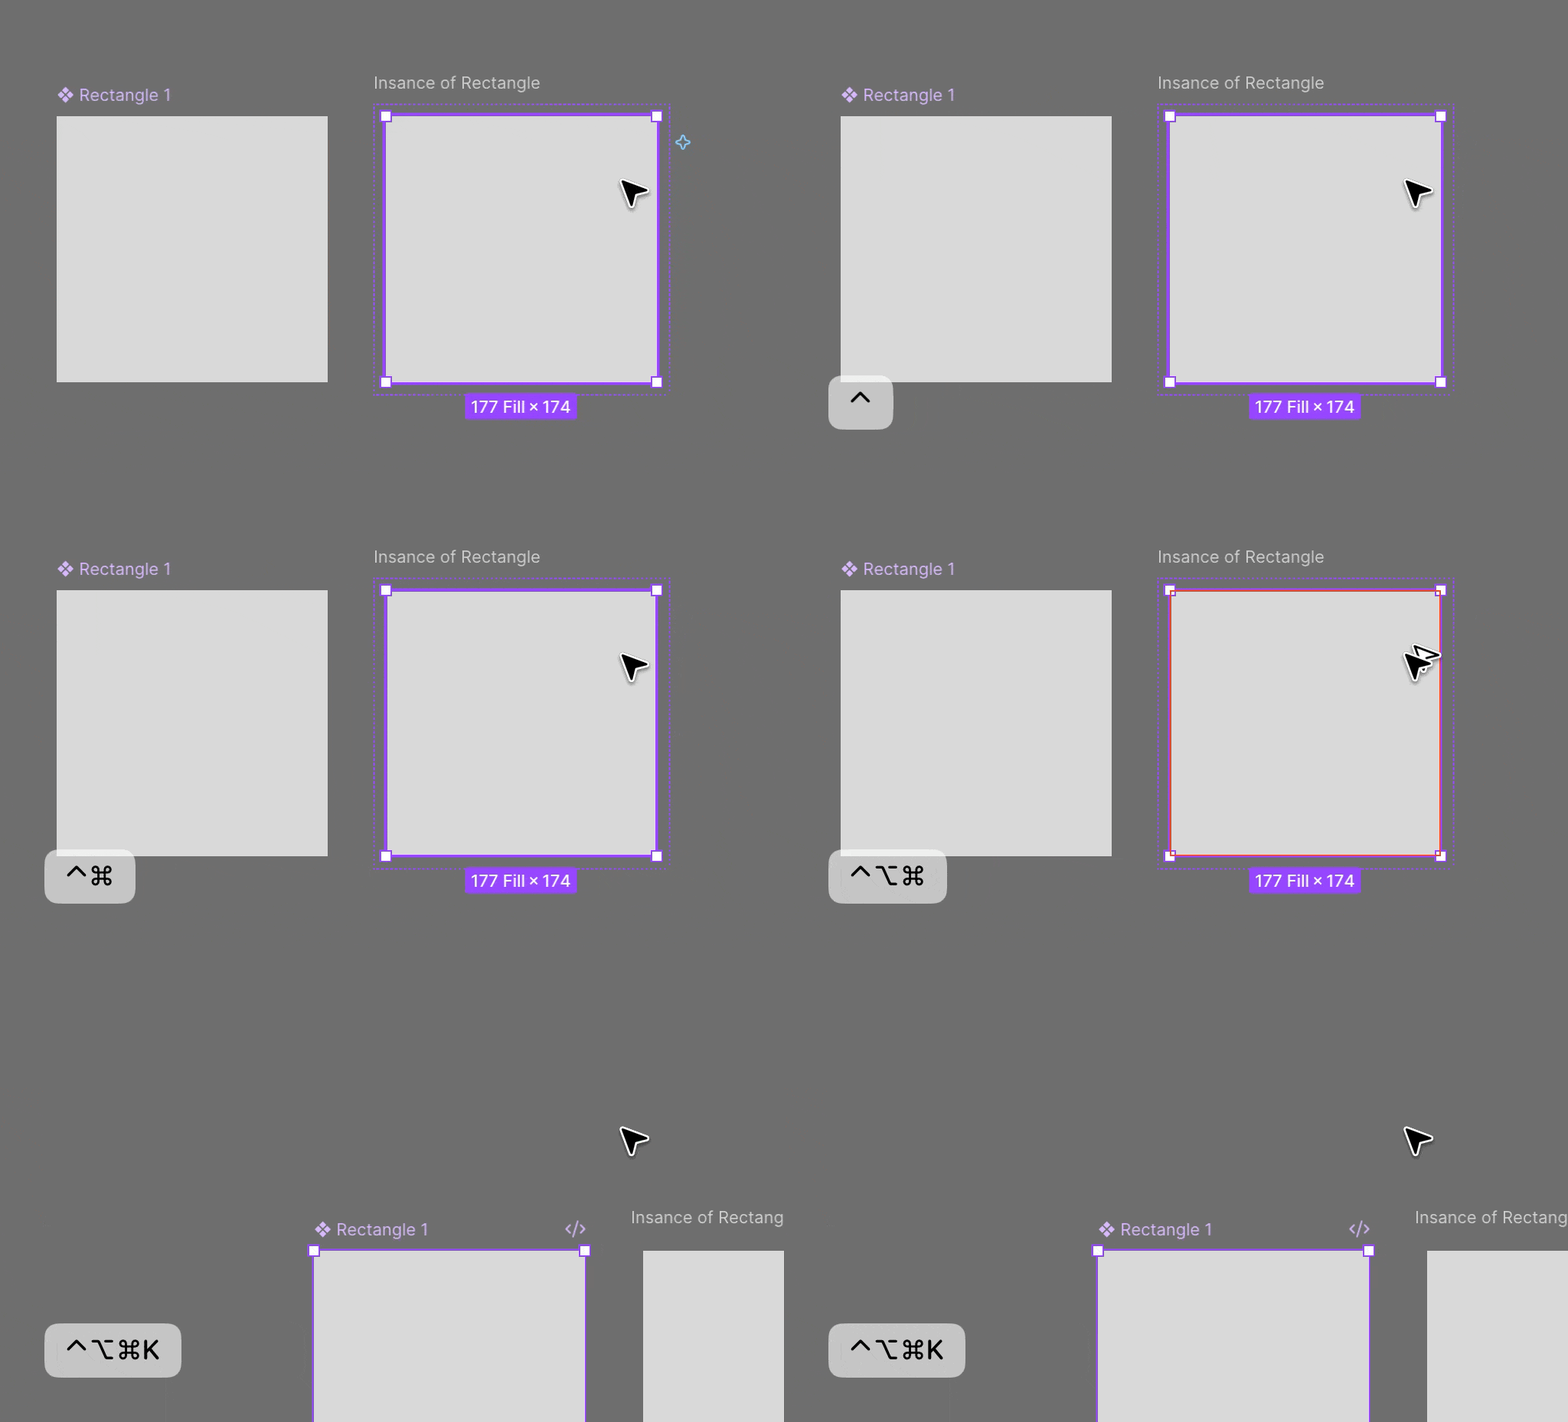
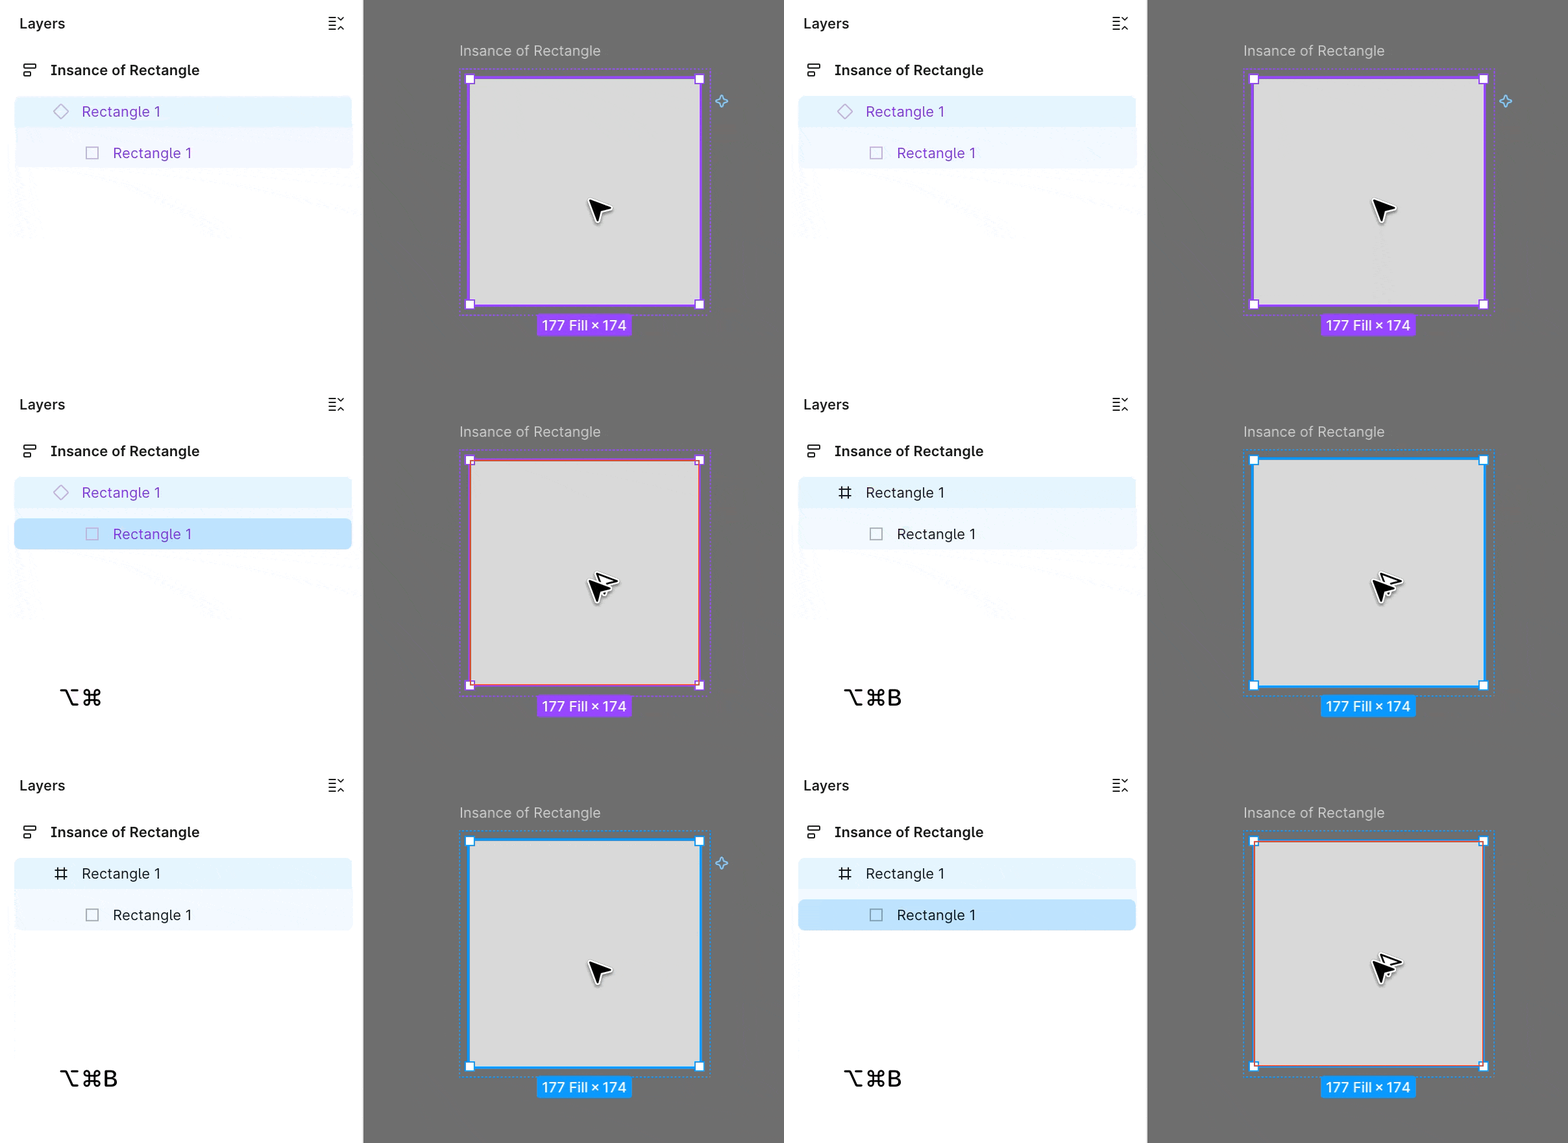
⌥⌘K: Create component⌃⌥⌘K: Go to main component⌥⌘B: Detach instance (turn components back to regular frame)
Using Assets
Including to add existing component or resources:
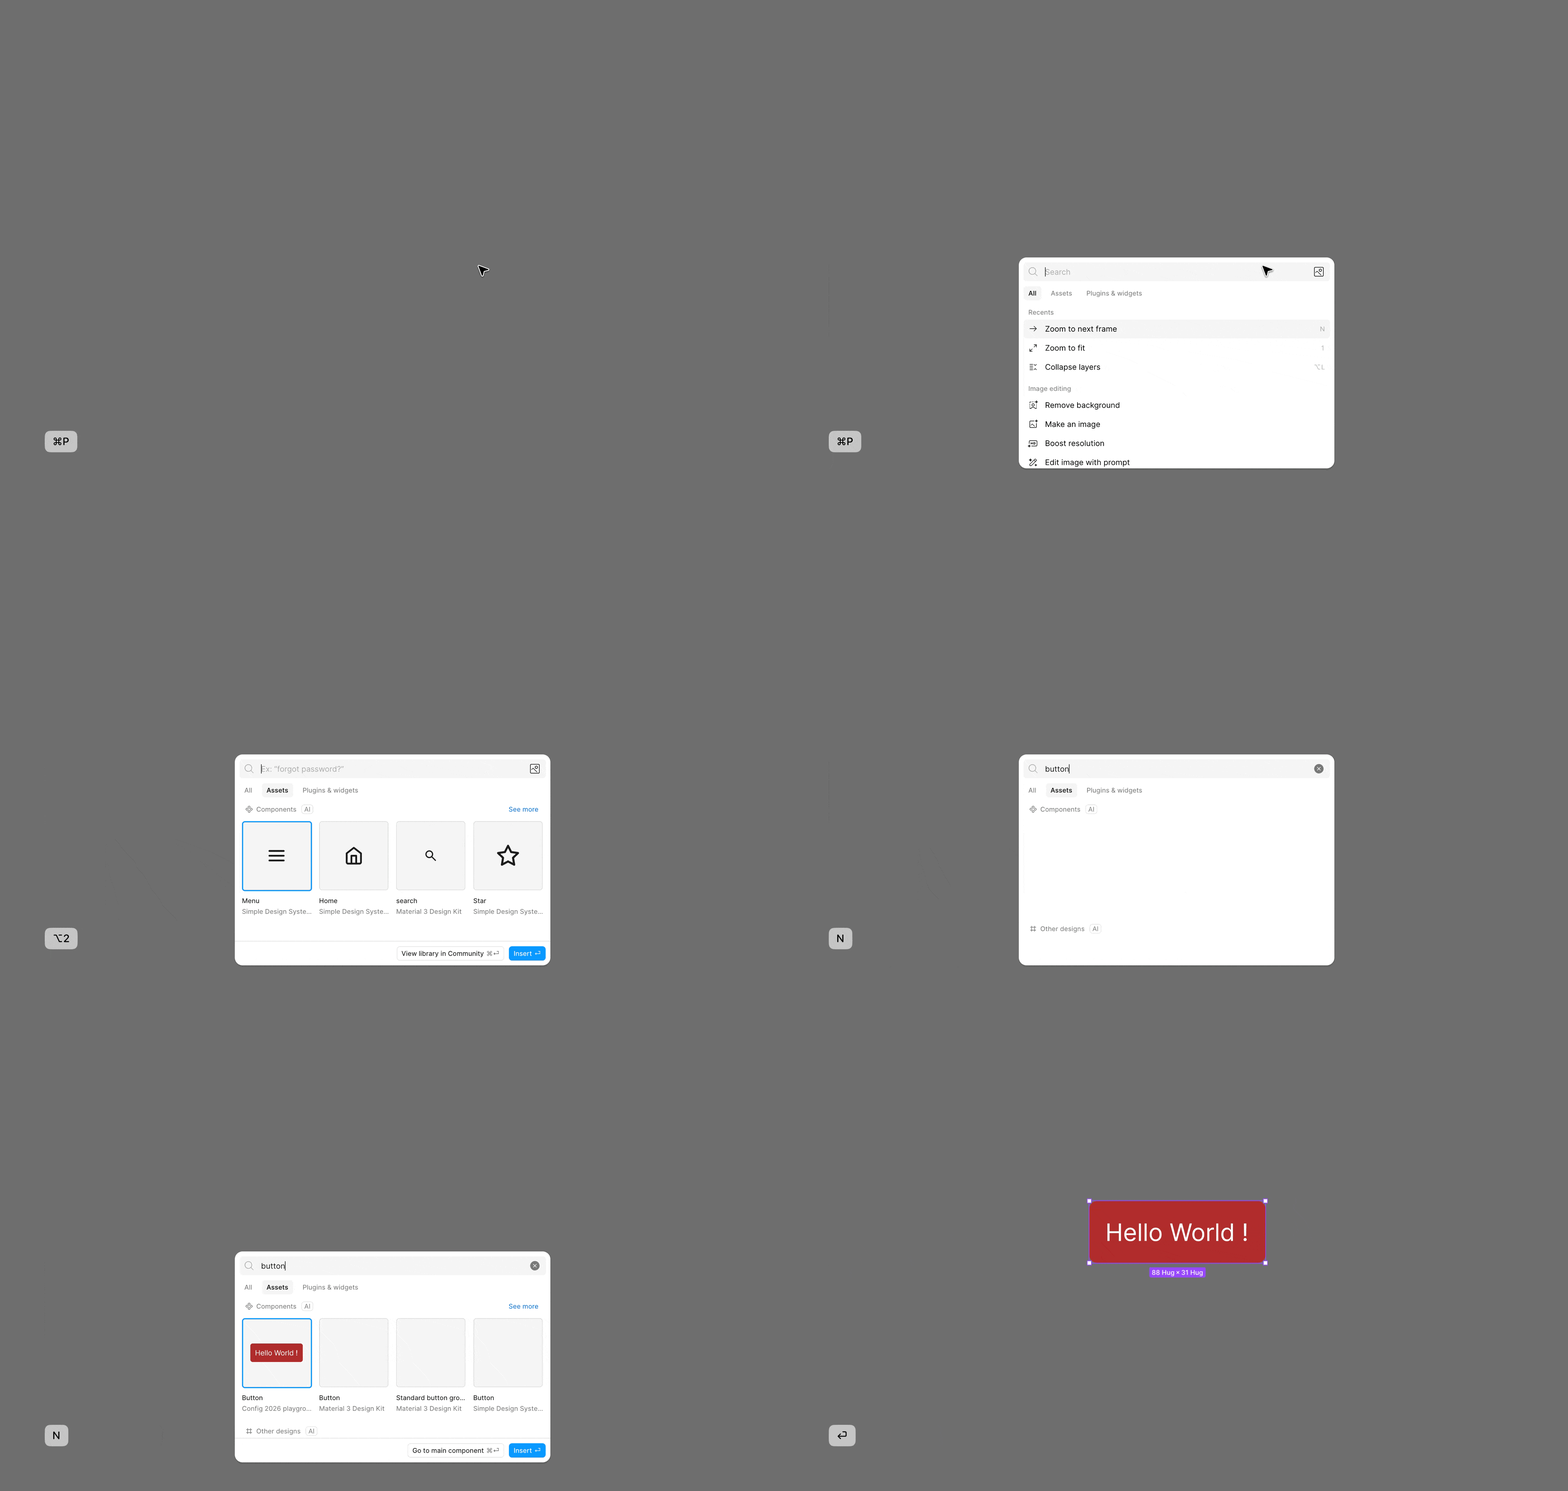
- Method-1: Insert asset using “asset tab in quick action panel”:
⌘pto open quick action panel⌥2to focus the asset panel in the quick action panel- start
tyingin the search field (without the need to click on anything)- find the component using your
arrow-keys- press
enterto insert the component- Method-2: Inserting asset using “asset sidebar panel” (less recommended, since mouse is involved)
⌥2to open the panel- focus on the search input field and
input- find the component
drag-and-dropcomponent
Alternatively, if the main component and your insert target is on the same page, then you can also duplicate a instance of the original main component and move it into the final inserting target:
⌥+drag-dropto create a instance of the component where you dropped it⌘Dduplicate instance of the component